LED lights have become a popular lighting choice for both interior and exterior use. This comprehensive guide will teach you everything you need to know about operating LED lights safely and effectively. From understanding the different types of LED lights to learning how to install and turn them on, these step-by-step instructions will have your LED lights illuminated in no time.
Ever wonder how to use those new LED light strips or bulbs you bought? This article is your one-stop resource for operating any kind of LED lights around your home or business. Discover proper installation methods, power requirements, and control options for a variety of LED lights. Follow our detailed guidelines to start enjoying bright, energy-efficient illumination today.
We’ll cover the main LED light types, necessary tools, and connections, driver and power considerations, as well as control methods like switches, remotes, and apps. Learn important safety protocols too. You’ll gain expertise in controlling all your LED lighting situations with confidence. Let’s get your LEDs shining with these easy setup instructions!
Understand the Different Types of LED Lights
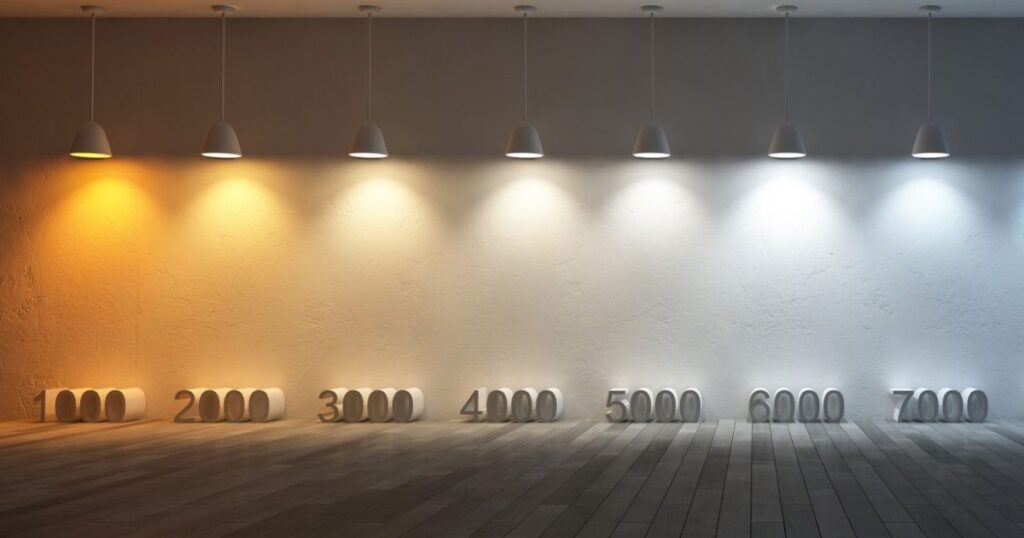
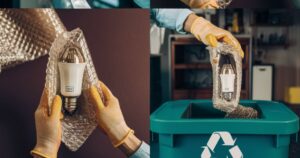
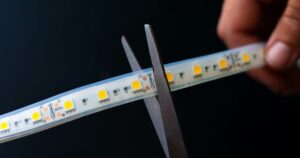
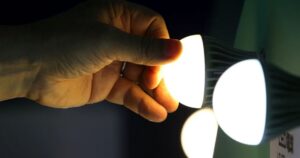
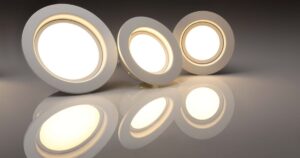
LEDs come in many forms including bulbs, strips, tubes, floodlights, and more. Bulbs directly replace standard incandescent or CFL bulbs in fixtures. Strips are flexible ribbons ideal for accenting shelves or under cabinets. Popular consumer brands like Govee produce high-quality, affordable LED strip lights. Tubes resemble fluorescent tubes for troffer fixtures. Floodlights provide high-output lighting for outdoor use.
LEDs also vary by usage like general illumination bulbs or specialty uses like emergency exit signs. Knowing your specific light type enables selecting the proper drivers, connectors, and powering options necessary for safe and dependable operation. Reputable manufacturers including Philips, Cree, and GE deliver quality, energy-saving LED solutions optimized for a variety of lighting applications.
Gather the Required Tools and Materials
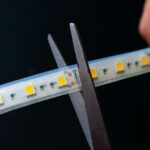
Having the correct tools makes installations quicker and safer. Gather basic screwdrivers, wire cutters/strippers, crimping pliers, and cable ties depending on the project. Tape comes in handy too. For LED bulbs, no tools are needed beyond perhaps a ladder. Strips involve cutting, splicing, and in some cases soldering small connectors.
Ensure you have the recommended driver or transformer that supplies the necessary voltage and wattage for your LEDs to avoid damage. Various inline connectors, terminals, adaptors, and extension wires aid complex wiring situations. Double-check package instructions or manufacturer guidelines to collect all essential hardware before starting any job. Proper preparation avoids assembly headaches and frustration.
Basic Hand Tools
Must-have tools for most LED installations include screwdrivers (both Phillips and flathead), wire cutters/strippers, cable ties, and electrical tape. Crimping pliers simplify wire connections for professionals or ambitious DIYers. A measuring tape also proves useful on some projects.
Drivers and Connectors
The research recommended constant-current drivers or power supplies providing the advised voltage, especially for long LED strips. Correct inline connectors, Y-splitters, waterproof terminals, and extension cables ensure electricity flows safely to each light segment.
Install LED Lights Safely
Always shut off power at the main breaker or pull a lighting circuit’s fuse before working with any wiring. For added safety, use a non-contact voltage tester pen to double-check check no lines are still live. Mount bulbs by simply screwing them into sockets until snug. Handle flexible strips carefully when affixing them to avoid damaging tiny surface mount components.
Use low heat, if any, during soldering to prevent melting plastic insulators or traces. Neatly secure wires to prevent tripping hazards using cable clips or ties spaced every 6-8 inches. Keep fixtures, power supplies, and wiring runs well-ventilated, and never install lights directly above tubs or sinks where contact with water may occur. Safety first directives keep installations code-compliant and accident-free.
Shut Off Power at Breaker
To protect against electric shock, locate the breaker box and switch off power to the specific circuit you’ll be working on before beginning any wiring tasks. Pulling a fuse provides an alternative method for older circuits still using fuses.
Use Non-Contact Voltage Tester
For added reassurance after shutting off power at the source, employ a voltage tester pen to sweep for any residual voltage on conductors before touching wires. Its audible tone and illuminated probe tip verify lines are completely de-energized before handling.
Connect LED Lights to Power
Strip 1/4-1/2 inches of sheathing from wire ends using a sharp stripper. With power still disconnected, use wire nuts or crimp caps to safely join wires together outside fixtures in junction boxes if needed. Solid core wire withstands heat better than stranded used for internal fixture wiring. Route cable runs neatly along joists or baseboards, fastening every 18-24 inches with cable clips.
Once connected to the appropriate constant-current driver supplying the voltage printed on the light, energize the circuit and test for functionality. Recessed housings require careful wire folding within enclosures to avoid pinching. Quality, code-approved connections deliver dependable service for many years.
Strip Sheathing and Connect Wires
Strip back jacket sheathing 1/4-1/2 inches using wire strippers. Twisting exposed copper filaments firmly together before capping with wire nuts or crimps creates solid electrical joints safely terminated outside fixtures within junction boxes.
Route and Secure Cable Neatly
Use cable clips or ties spaced every 18-24 inches to affix wire runs neatly along joists or baseboards within walls, ceilings, and soffits. Proper support prevents intermittent connections from loose, dangling cables over time.
Control LED Lights Through Various Methods
Many LED installations involve some type of control interface beyond a simple on/off switch. For bulbs, use a dimmer switch rated for both the total wattage draw and type (ELV, TRIAC, 0-10V, etc). Motion sensors conserve energy by only illuminating when movement occurs. Timers provide scheduled on/off cycles. Dimmers enable adjusting output levels for different situations.
Smart switches link to apps or voice assistants for added convenience. Long LED strip runs require using multiple switches, break-out boxes with additional ports, or standalone dimming remotes offering preset lighting scenes. Wireless options avoid wiring runs between switch locations providing an easy retrofit option too. Research control solutions supported by your particular lights.
Dimmers
Dimmers enable smoothly adjusting LED brightness as needed and are available for both individual bulbs or whole-home control of multiple fixtures throughout a wiring zone. Ensure dimmer switches can handle the total connected wattage and LED technology type.
Sensors and Timers
Motion sensors and programmable timers contribute substantial energy savings by activating lights only when needed. Photocells also switch on at dusk and off again at dawn to maximize usage and cut costs long-term.
Troubleshoot Installation Issues

Should unexpected behaviors occur after installing LEDs, stay calm and methodically inspect individual components. First check all connections remain solid, free of nicks and water ingress. Refer back to circuit diagrams to ensure polarity matches at drivers and fixtures. Verify voltage supplied matches what’s printed on the lights. Inspect drivers making sure they don’t overheat or buzz during operation.
Test different circuits to narrow the problem location. If behavior remains unclear, consult manufacturer support resources. Continued failures might require replacing damaged parts still under warranty. Minor mistakes simply require redoing connections safely. With patience, you’ll solve any speed bumps to enjoy years of reliable illumination.
Inspect Wiring and Connections
If issues arise, carefully examine all wire joints for loosening or damage. Inspect drivers ensuring proper voltage supply matches what’s printed on fixtures. Look for signs of overheating, shorts, or water intrusion at connection points throughout the installation.
Consult Manufacturing Resources
Manufacturer support portals like websites and helplines assist in diagnosing stubborn problems. Replace suspected defective components still covered by a warranty to rule them out as the root cause if all wiring and connections check out fine.
FAQ’s
How do you switch to LED lights?
Replace incandescent bulbs one-by-one with equivalent LED bulbs that screw into existing light fixtures.
Why are my LED strip lights not turning on?
Check that the driver is supplying the correct voltage and wires are securely connected at both ends. Inspect for wiring damage or shorts.
How do I get my LEDs to turn on?
Ensure the power source is on and connected properly. Check that the LED lights are receiving the rated voltage and that any switches or controls are functioning properly.
How are LED lights turned on?
LED lights require a power source like a driver or transformer supplying the rated voltage through secure wire connections. A switch or control method turns the power circuit on to illuminate the LEDs.
Conclusion
By learning about different LED light varieties, gathering required tools, and performing safe, smart installations, you have unlocked the power to illuminate your world with energy-saving LED technology. Whether a simple bulb replacement or large-scale outdoor project, these principles enable anybody from beginners to wiring professionals to effortlessly operate LED lighting installations. Enjoy customized control of precisely where and when brightness shines through reliable guidance. Your LED investment will deliver years of dependability and light when following outlined best practices every step of the way.


