Removing LED lights without damaging paint is a process that involves carefully detaching the lights from the surface they are mounted on. The goal is to avoid causing any harm to the painted area while removing the LED lights. This can be achieved by using techniques such as applying heat to soften adhesives, using gentle peeling motions, and cleaning up any residue left behind.
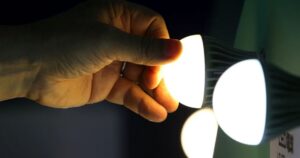
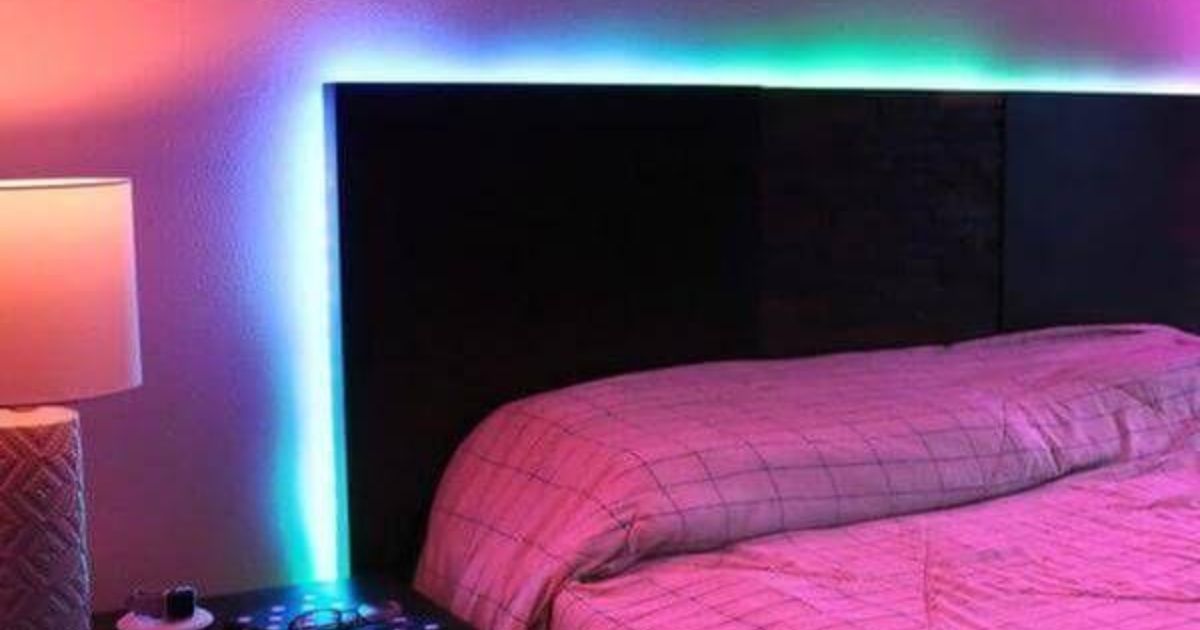
Imagine standing in a room bathed in the warm glow of your LED lights, planning to make a change, perhaps transitioning from a cozy, warm white to a crisp, cool daylight. The excitement builds, but so does the apprehension. What if taking those LED lights off the wall leaves behind an eyesore? We’ve all heard horror stories of paint damage, and nobody wants to be the protagonist in that tale.
This guide isn’t just about saving you from the potential catastrophe of ripped paint; it’s about empowering you to transform your space with confidence. We’ll walk you through various methods for Illegal To Have LED Lights Inside Your Car, from adhesive strips to screw-in fixtures, offering you the expertise to make informed choices. By the time you finish reading, you’ll be well-equipped to make changes to your lighting setup without a trace of damage to your beloved paintwork.
Key Takeaways
- Before you start, determine how the LED lights are attached. Whether it’s adhesive strips, screws, or cable clips, knowing the attachment method is essential for a successful and paint-friendly removal.
- Heat, in the form of a heat gun or hairdryer, can be your ally in softening adhesive without damaging paint. Use it judiciously and maintain a safe distance from the wall to avoid burns or paint blistering.
- When removing adhesive LED strips, patience is key. Peel slowly and steadily, keeping the strip at a low and parallel angle with the wall to minimize the risk of paint peeling.
- Don’t forget to have adhesive remover on hand. It’s a handy tool for cleaning up any residual sticky residue after removing the LED lights.
- Preventive measures are crucial in preserving your paint. Consider alternative installation methods that are less likely to damage the surface, ensuring a smoother transition when you decide to upgrade your LED lighting.
Gathering Necessary Tools
Before you begin the removal process, make sure you have the following tools on hand:
- Screwdrivers (if applicable)
- Heat gun or hair dryer
- Adhesive remover
- Clean, lint-free cloth
- Plastic or rubber spatula
- Painter’s tape
Preparing the Workspace
Prior to leaving on the errand of eliminating Drove lights, it’s fundamental to mindfully set up your work area. This step is urgent in limiting likely wreck and protecting your environmental elements. Set out a drop material or an old bedsheet underneath the area where you’ll work.
This keeps your floors spotless as well as keeps any trash or buildup from coming into contact with your furnishings or other important things. Making a coordinated and defensive work area is the most vital move toward guaranteeing a smooth and harm free Drove light evacuation process.
| Step Number | Instruction |
|---|---|
| Step 1 | Gather the necessary tools: a heat gun or hairdryer, a plastic spatula, and adhesive remover. |
| Step 2 | Plug in the heat gun or turn on the hairdryer to its lowest heat setting. |
| Step 3 | Hold the heat source about 6 inches away from the LED light strip, and apply heat evenly to soften the adhesive. |
| Step 4 | Gently insert the plastic spatula between the LED strip and the surface, using it to carefully lift the strip. |
| Step 5 | Continue applying heat and using the spatula to remove the strip slowly. |
| Step 6 | If adhesive residue remains, apply adhesive remover and gently rub it off with a cloth. |
| Step 7 | Clean the surface with mild soap and water to ensure no adhesive or residue remains. |
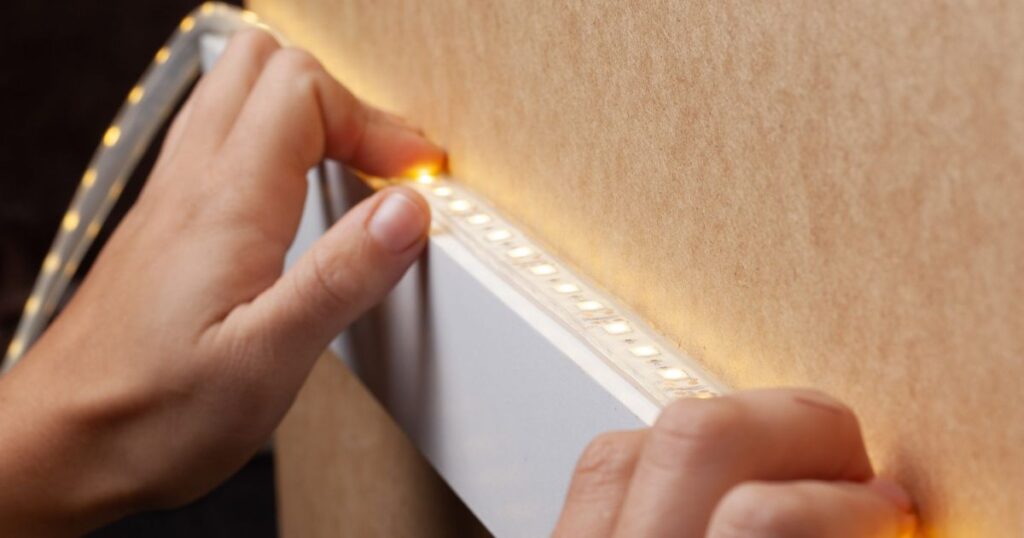
Identifying the Attachment Method
Before you leave on the undertaking of eliminating Drove lights without hurting your paint, deciding the connection method is vital. Driven lights can be joined to surfaces in different ways, whether through cement strips, screws, or link cuts.
Understanding how your specific LED lights are connected is the most vital phase in guaranteeing a fruitful evacuation process. Every strategy requires explicit procedures, and recognizing the connection technique will direct you towards the most fitting and successful expulsion approach, protecting both your lights and your paintwork.
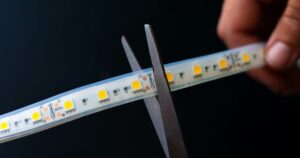
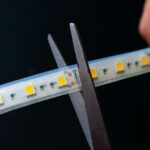
Removing Adhesive LED Strips
When dealing with LED lights attached using adhesive strips, follow these ten steps to ensure a safe and paint-friendly removal process:
Gather Tools
Begin by assembling the necessary tools, including a plastic spatula, a heat gun or hairdryer, adhesive remover, a clean, lint-free cloth, painter’s tape, and materials for safely turning the LED lights off without ripping paint.
Turn Off Lights
Ensure the LED lights are turned off to prevent accidental burns or electrical issues during the removal process.
Peel a Corner
Gently peel back one corner of the LED strip using the plastic spatula or your fingers. Start at a point where the adhesive begins to lift.
Apply Heat
Use the heat gun or hairdryer to warm the adhesive. Keep it at a moderate distance to avoid damage to the paint.
Slow, Steady Peel:
Start slowly and steadily peeling off the LED strip while maintaining a low and parallel angle with the wall. This minimizes the risk of paint damage.
Heat Assistance
If the strip resists, apply more heat as needed to soften the adhesive further.
Keep It Level
Ensure the LED strip remains level with the wall during the removal to prevent any paint peeling.
Adhesive Residue
After removal, inspect for any sticky residue left on the surface. Use adhesive remover to clean this residue.
Wipe Clean
Wipe the area with a clean, lint-free cloth to ensure it’s free of any remaining adhesive or dirt.
Inspect for Damage
After the LED strip is completely removed, inspect the area for any paint damage. If any minor damage is detected, you can consider touch-up painting to restore the finish.
Removing Screwed-in LED Lights
For LED lights that are screwed into place, follow these steps:
- Switch off the power supply to the Drove lights.
- Utilize a suitable screwdriver to eliminate the screws holding the apparatus set up.
- Carefully take out the LED fixture without damaging the surrounding paint.
Dealing with Cable Clips
If cable clips are holding the LED lights in place, proceed as follows:
- Gently press the clips to release the cables from the wall or surface.
- Pull the LED light and cable away from the clips without yanking or jerking.
FAQs
Can I reuse adhesive strips for LED lights?
It’s not recommended, as they may lose their adhesive properties upon removal.
Can I repaint over a damaged area?
Yes, you can repaint the area after proper surface preparation.
What if the LED light won’t come off easily?
Apply more heat and take your time to avoid paint damage.
How do I remove LED lights from a textured wall?
Be even more gentle and use a plastic spatula to lift the LED strip.
Is it possible to change the color of my LED lights after removal?
Yes, you can replace them with lights of a different color.
Conclusion
In the quest to create the perfect ambiance and lighting within our living spaces, LED lights have become an indispensable tool. However, the anxiety surrounding their removal and its potential impact on your carefully painted walls is a common concern. Fear not, for with the right knowledge and technique, you can gracefully bid farewell to your LED lights without leaving a trace of damage behind.
In conclusion, the process of taking LED lights off without ripping paint hinges on meticulous preparation, identifying the attachment method, gentle handling, and the judicious use of heat and adhesive removers. By following the steps outlined in this guide, you can seamlessly transition between lighting setups, maintaining the pristine beauty of your painted walls.