When it comes to revamping your living space or upgrading your lighting system, LED strip lights are a popular and versatile choice. However, the challenge arises when you decide it’s time for a change or an upgrade, and you need to remove these lights without causing any damage to the painted surfaces. In this guide, we’ll delve into the intricacies of safely removing LED strip lights without leaving a mark on your carefully painted walls.
Understanding the Basics of LED Strip Lights
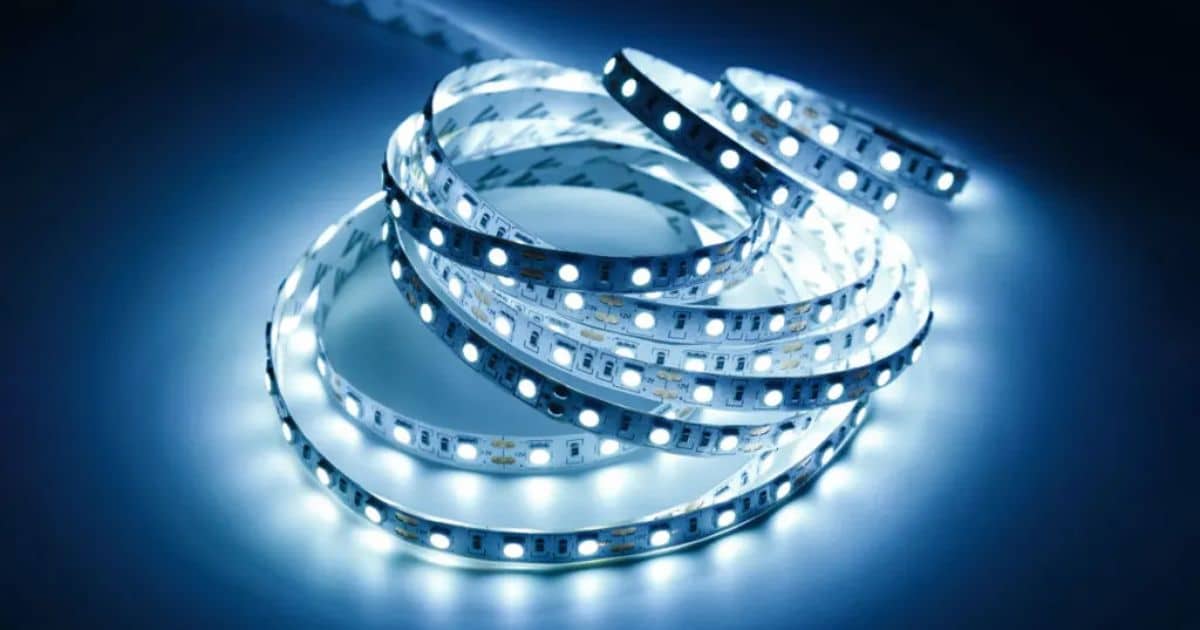
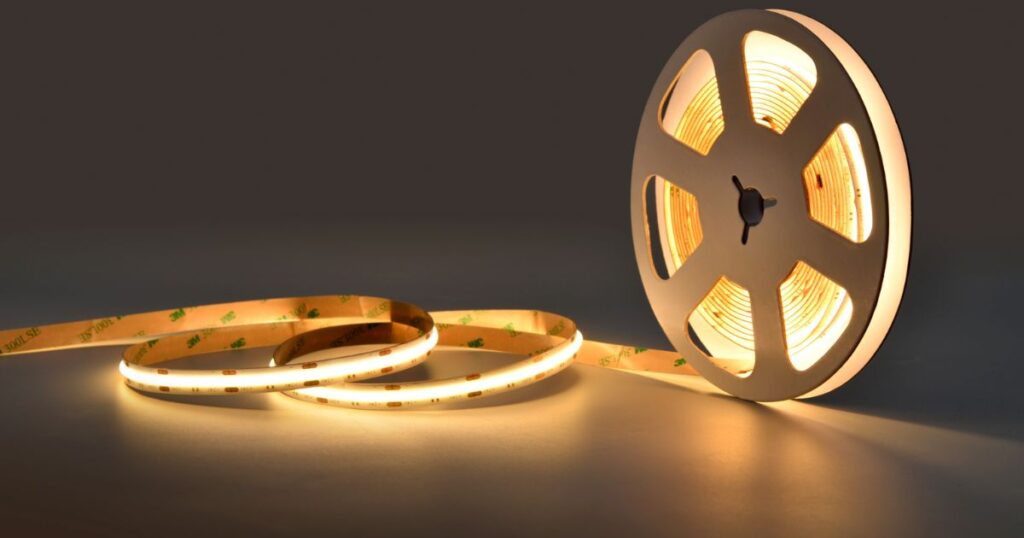
LED strip lights are thin, flexible circuits with small LED bulbs mounted on them. They are commonly used for decorative and ambient lighting and come with adhesive backing for easy installation. Before we dive into the removal process, let’s understand the basic components and types of LED strip lights.
Types of LED Strip Lights
Here we explores the diverse options within the LED strip lighting category, showcasing variations in size, color, flexibility, and application to help readers make informed choices for their needs.
Single-Color LED Strips
Single-color LED strips emit a uniform light color and are commonly available in variations of white, warm white, or cool white. These are relatively simpler in design and function.
RGB LED Strips
RGB LED strips allow you to customize the color output, offering a spectrum of colors. These strips have red, green, and blue LEDs that can be combined to create various hues.
Smart LED Strips
Smart LED strips are equipped with technology that allows you to control them remotely using a smartphone or other smart devices. They often come with additional features such as programmable color changes and synchronization with music.
How to Apply an LED Strip Light?
Applying LED strip lights can significantly enhance the ambiance of any space, providing versatile and customizable lighting solutions. Whether you’re aiming for a subtle accent or a vibrant display, the application process is crucial to achieving the desired effect.
Planning and Measurement
Before diving into the application process, take the time to plan and measure the installation area. Determine the length of LED strip lights needed and ensure that the power source is conveniently located. Consider the placement of the lights to achieve the desired lighting effect—whether it’s under cabinets, along edges, or as cove lighting. Precise measurements and a well-thought-out plan contribute to a seamless and visually appealing installation.
Cleaning and Surface Preparation
For optimal adhesion, it’s essential to start with a clean and dry surface. Wipe down the area where you intend to apply the LED strip lights using a mild cleaning solution to remove dust, grease, or any other residues. This ensures that the adhesive backing of the LED strips adheres securely to the surface, preventing any peeling or detachment over time. Proper surface preparation is a key factor in the longevity and stability of the LED installation.
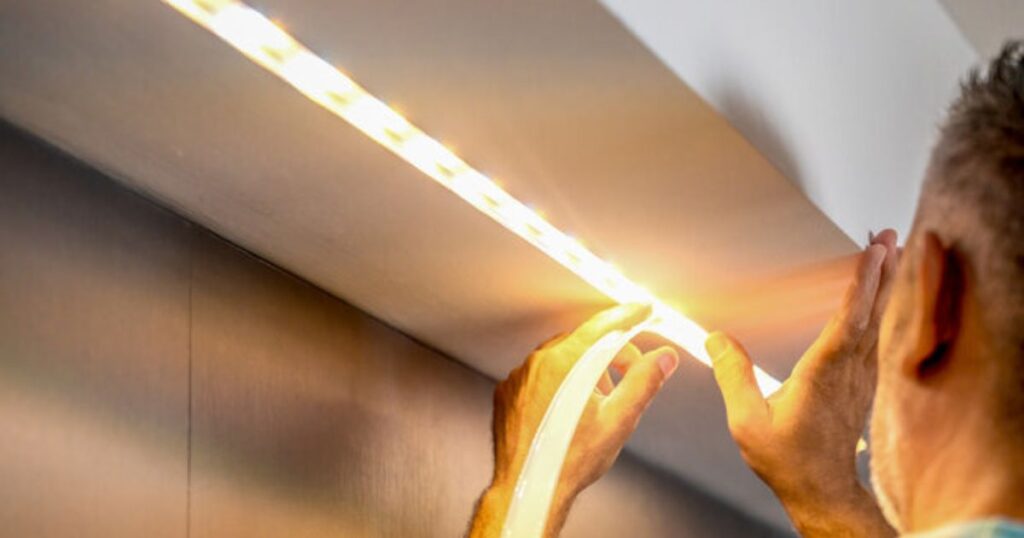
Adhesive Application
LED strip lights come equipped with adhesive backing for easy application. Carefully peel off the protective layer from the back of the strip, exposing the adhesive surface. Align the LED strip with your pre-determined installation path, applying gentle and even pressure as you press it onto the cleaned surface. Work in small sections, ensuring that each part adheres securely before moving on to the next. Taking your time during this step contributes to a neat and professional-looking installation.
Securing and Concealing Wires
Once the LED strip lights are in place, secure any excess wiring neatly. Use clips or adhesive cable organizers to keep the wires tidy and prevent them from becoming a visual distraction. If the LED strips come with connectors or extensions, ensure they are securely attached. Concealing the wiring not only enhances the aesthetics of the installation but also reduces the risk of damage to the wires over time.
How to Remove LED Strip Lights without Damaging Paint Step by Step
Removing LED strip lights without causing damage to the paint requires a systematic approach. In this step-by-step guide, we will walk you through the process, ensuring a smooth and safe removal experience.
1: Disconnect the Power Supply
Before embarking on the removal process, ensure the power supply to the LED strip lights is turned off. This fundamental step is crucial for your safety and prevents any electrical mishaps during the removal.
2: Gather Necessary Tools
Collect the tools needed for the removal process:
- Hair Dryer or Heat Gun: For softening the adhesive.
- Plastic Pry Tools: Gentle tools for lifting the LED strip without causing damage.
- Isopropyl Alcohol and Cotton Swabs: To clean any residual adhesive.
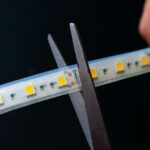
- Utility Knife: For cutting through stubborn adhesive.
3: Warm Up the Adhesive
Use a hair dryer or heat gun to gently warm up the adhesive behind the LED strip. Hold the heating tool approximately 6 inches away from the strip, moving it back and forth to evenly distribute the heat. This step softens the adhesive, making it easier to peel off without causing damage to the paint.
4: Start Peeling at the Corners
Once the adhesive is adequately warmed, use plastic pry tools to gently lift the corners of the LED strip. Take your time and work slowly to avoid any sudden movements that could damage the paint. Begin peeling off the LED strip along its length.
5: Gradually Remove the LED Strip
Continue peeling off the LED strip, applying heat as necessary. If you encounter areas with stubborn adhesive, use a plastic pry tool or a utility knife to carefully separate the adhesive from the surface. Ensure a gradual and careful process to minimize the risk of paint damage.
6: Clean Residual Adhesive with Isopropyl Alcohol
After successfully removing the LED strip, there may be residual adhesive left on the surface. Dampen a cotton swab with isopropyl alcohol and gently rub the adhesive until it comes off. Ensure the surface is completely clean and dry before proceeding.
Additional Tips for a Seamless Removal Process
- Tip 1: Use Fishing Line for Stubborn Adhesive: For particularly stubborn adhesive, use a length of fishing line. Gently slide the fishing line between the LED strip and the surface, moving it back and forth to cut through the adhesive.
- Tip 2: Test in an Inconspicuous Area First: Before applying heat or using any tools, test a small, inconspicuous area to ensure that the chosen method doesn’t damage the paint.
- Tip 3: Seek Professional Help if Needed: If you’re uncertain about the removal process or if the LED strip lights are installed in a delicate area, consider seeking professional assistance to avoid any potential damage.
Following this step-by-step guide and incorporating these additional tips will help you remove LED strip lights without damaging paint, ensuring a hassle-free process and preserving the aesthetics of your living space. Remember, patience is key, and taking the time to perform each step carefully will yield the best results.
How to Remove LED Lights from Ceiling?
Removing LED lights from the ceiling involves a slightly different approach compared to removing them from other surfaces. Here’s a concise guide to help you navigate this process effectively:
Turn Off the Power: As always, safety first. Turn off the power supply to the LED lights from the main switchboard to avoid any electrical hazards during the removal process.
Access the Ceiling Fixture: If your LED lights are recessed or installed within a fixture, carefully remove the cover or trim to access the light. Use a ladder or step stool to reach the ceiling safely.
Disconnect Wiring: Once you have access to the LED fixture, disconnect the wiring. This may involve unscrewing wire nuts or loosening terminal screws. Remember to note the wiring configuration for easy reinstallation.
Remove the LED Fixture: Depending on the type of fixture, there may be screws or clips securing it to the ceiling. Use the appropriate tools to remove these fasteners, allowing you to take down the LED fixture.
Detach Adhesive Strips: If the LED lights are attached to the ceiling with adhesive strips, follow the general guidelines for warming up the adhesive using a hair dryer or heat gun. Gently peel off the strips, taking care not to damage the ceiling surface.
Patch and Paint (if necessary): After removing the LED lights, inspect the ceiling for any damage or holes left behind. Patch these areas using a suitable filler and repaint if needed to restore the ceiling’s aesthetics.
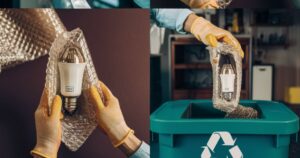
Dispose of Responsibly: If you’re replacing the LED lights, consider recycling or disposing of them properly. Many localities have electronic waste disposal facilities to handle these items in an environmentally friendly manner.
By following these steps, you can safely and efficiently remove LED lights from the ceiling, whether they are recessed fixtures or surface-mounted. Always prioritize safety, and if you’re unsure about any step, consult a professional for assistance.
How to Remove LED Strip Lights from Wall and Reuse?
Removing LED strip lights from a wall requires a delicate touch to ensure both the lights and the wall surface remain undamaged. Here’s a brief guide on how to successfully remove LED strip lights and reuse them elsewhere:
Power Off and Disconnect
Begin by turning off the power supply to the LED strip lights to guarantee safety during the removal process. Unplug or disconnect any power sources connected to the LED strips.
Warm Up the Adhesive
Use a hair dryer or heat gun to gently warm the adhesive on the back of the LED strip. This softens the adhesive, making it easier to peel off without causing damage to the wall.
Start Peeling from the Corners
Once the adhesive is warmed up, carefully peel off the LED strip from one corner. Utilize plastic pry tools if needed to lift the strip slowly, minimizing the risk of paint damage.
Remove Adhesive Residue
After taking the LED strip off the wall, there might be some adhesive residue left behind. Clean the wall surface using isopropyl alcohol and a soft cloth to ensure it’s free from any sticky remnants.
Inspect LED Strip for Damage
Check the LED strip for any signs of damage during removal. If the strip is in good condition, it can be reused; otherwise, consider replacing any damaged sections.
Prepare for Reinstallation
If you plan to reuse the LED strip, ensure the area where you intend to reinstall it is clean and dry. Prepare the surface by wiping it down to remove any dust or debris.
Reinstall LED Strip
Carefully reinstall the LED strip on the new surface, following the installation instructions. If the adhesive is no longer effective, consider using double-sided tape or adhesive designed for mounting LED strips.
Test Before Permanent Installation
Before permanently securing the LED strip in its new location, test it to ensure it functions correctly. This allows you to make any adjustments or troubleshoot issues before finalizing the installation.
By following these steps, you can successfully remove LED strip lights from a wall, preserve the integrity of both the lights and the wall surface, and reuse the LED strips in a new location. Remember to proceed with patience and care to achieve the best results.
Do LED Strip Lights Ruin Paint?
LED strip lights are a popular choice for both functional and decorative lighting, but a common concern among homeowners is whether these lighting fixtures have the potential to ruin paint on walls or surfaces. Let’s delve into this question and explore the factors that may influence the impact of LED strip lights on painted surfaces.
Understanding the Components of LED Strip Lights
Before addressing the potential impact on paint, it’s essential to understand the construction of LED strip lights. These lights consist of a flexible circuit board with LED diodes and an adhesive backing for easy installation. The adhesive is designed to provide a secure grip on various surfaces, including painted walls.
Factors Influencing the Impact on Paint
Several factors determine whether LED strip lights pose a risk to painted surfaces:
Adhesive Quality
The adhesive backing on LED strip lights varies in quality among different brands. High-quality adhesives are less likely to leave a residue or damage paint when removed. Cheaper alternatives may have a stronger adhesive that can be more challenging to remove without causing damage.
Surface Preparation
The condition of the surface before installing LED strip lights plays a significant role. Surfaces that are clean, dry, and free from imperfections are less likely to experience paint damage during installation or removal.
Paint Type and Quality
The type and quality of paint used on the walls can influence how it reacts to the adhesive on LED strip lights. Matte or flat paints may be more susceptible to damage than semi-gloss or high-gloss finishes.
Duration of Installation
The length of time LED strip lights have been in place can affect their adhesion. Over an extended period, the adhesive may bond more strongly with the surface, potentially making removal more challenging.
Preventive Measures to Avoid Paint Damage
While LED strip lights, when properly installed, typically don’t ruin paint, taking preventive measures can further minimize any potential risks:
Surface Inspection
Before installing LED strip lights, thoroughly inspect the painted surface for any existing damage or imperfections. Addressing these issues beforehand can prevent exacerbation during installation or removal.
Choose High-Quality Products
Opt for LED strip lights from reputable manufacturers that use high-quality adhesives. Investing in a reliable product can significantly reduce the likelihood of paint damage.
Surface Testing
Before installing LED strip lights across an entire wall, consider testing a small, inconspicuous area to gauge how the adhesive interacts with the paint. This can help identify any potential issues before a full installation.
Gentle Removal Techniques
When it’s time to remove LED strip lights, use gentle techniques, such as applying heat with a hair dryer, to soften the adhesive. Slow and careful removal minimizes the risk of paint damage.
Do LED Strip Lights Ruin Wood?
LED strip lights are a popular choice for enhancing the ambiance of various spaces, and as their applications expand, questions about their impact on different surfaces arise. One common concern is whether LED strip lights have the potential to ruin wood surfaces. Let’s explore this aspect to provide a comprehensive understanding.
Understanding the Concerns
Wood is a versatile and natural material used extensively in home interiors. Homeowners often worry about the potential damage that adhesive-backed LED strip lights might cause to wooden surfaces. Concerns range from adhesive residue to heat generated by the lights affecting the wood over time.
Adhesive Residue
LED strip lights typically come with adhesive backing for easy installation. While this adhesive is designed to be strong enough to secure the strip in place, it is generally not formulated to damage surfaces. However, the concern arises if the adhesive is left on the wood for an extended period.
To mitigate this potential issue, it is crucial to follow proper removal procedures. As outlined in the earlier sections, warming the adhesive with a hair dryer or heat gun and using gentle tools can help in the residue-free removal of LED strip lights from wood surfaces.
Heat Generation
LED strip lights are known for their energy efficiency, emitting minimal heat compared to traditional lighting sources. While the heat generated by LED strip lights is generally low, it’s essential to consider the specific type of wood and its sensitivity to temperature changes.
For instance, if the wood is already prone to warping or has been exposed to extreme temperature variations, the heat from LED strip lights might exacerbate the issue. However, in typical usage scenarios, the heat generated by LED strip lights is unlikely to cause significant harm to well-maintained and sturdy wood surfaces.
Preventive Measures
To ensure that LED strip lights do not cause any adverse effects on wood surfaces, consider the following preventive measures:
Surface Inspection
Before installing LED strip lights, inspect the wood surface for any existing damage or vulnerabilities. Address any issues before proceeding with the installation.
Proper Installation
Ensure that the installation is done correctly, following manufacturer guidelines. This includes cleaning the surface before applying the adhesive and allowing sufficient time for the adhesive to bond securely.
Temperature Regulation
If the wood surface is in an area prone to temperature fluctuations, consider using LED strip lights with lower heat emission. Additionally, avoid placing the lights too close to the wood surface.
Regular Maintenance
Periodically check the condition of the wood and the LED strip lights. Promptly address any issues, such as loose adhesive or signs of damage, to prevent potential long-term harm.
Do LED Lights Attract Spiders?
LED lights, by themselves, do not attract spiders. Spiders are generally attracted to areas with insects, warmth, and hiding spots. Since LED lights do not emit heat in the form of infrared radiation, they are not a significant attractant for spiders. To minimize the presence of spiders, maintain a clean environment and ensure there are no insects drawn to the light source.
Can I Unstick and Re-Stick My LEDs?
While LED strips often come with adhesive backing for easy installation, it’s not advisable to unstick and re-stick them multiple times. The adhesive’s effectiveness tends to diminish with each reapplication, and the risk of paint damage increases. If you need to reposition the LED lights, it’s better to use additional adhesive or mounting options rather than attempting to reuse the original adhesive. This helps maintain the integrity of the adhesive and reduces the likelihood of damage during future removal.
Will LED Strip Lights Take Off Paint?
LED strip lights, when properly installed and removed with care, should not take off paint. However, if the adhesive is particularly strong or if the paint is in poor condition, there is a risk of paint damage. To minimize this risk, follow the recommended removal steps, apply heat to soften the adhesive, and use plastic pry tools to gently lift the LED strip without pulling on the paint.
Do LED Light Strips Get Hot?
LED light strips are known for their energy efficiency and generate significantly less heat compared to traditional incandescent bulbs. While they may become warm to the touch during operation, they generally do not get hot enough to cause damage to painted surfaces. Nevertheless, it’s advisable to touch the lights cautiously, especially during prolonged use, and ensure proper ventilation to dissipate any minimal heat produced.
How Do You Get LED Lights Off without Peeling Paint?

To remove LED lights without peeling paint, it’s essential to follow a careful removal process. Use a hair dryer or heat gun to warm the adhesive, gently lift the corners with plastic pry tools, and slowly peel off the LED strip. Taking your time and applying heat as needed will help soften the adhesive, reducing the likelihood of peeling paint. If any resistance is encountered, use a utility knife or fishing line to cut through the adhesive without damaging the paint.
Frequently Asked Questions
Can you reuse LED lights after taking them off the wall?
Yes, you can often reuse LED lights after taking them off the wall.
How do you remove LED strip lights from the wall without damaging them?
To remove LED strip lights from the wall without damage, gently peel or use a suitable adhesive remover.
Can you take LED lights off your wall and put them back up?
Yes, you can take LED lights off your wall and put them back up if you handle them carefully.
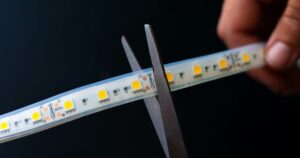
Is there a way to reuse cut LED light strips?
It is possible to reuse cut LED light strips with proper reconnection and handling.
Conclusion
Successfully removing LED strip lights without damaging paint requires patience, the right tools, and a gentle touch. By following the step-by-step guide and incorporating additional tips, you can upgrade your lighting without leaving a mark on your carefully painted walls. Remember to prioritize safety, turn off the power supply, and take your time to ensure a smooth and damage-free removal process.