LED lights use batteries to power their light bulbs. Over time, the batteries will need to be replaced when they lose their charge. Opening the battery compartment is necessary to change the used batteries.
This guide will show you the simple steps to access the batteries on common LED lights. Most LED lights make accessing the batteries easy for anyone to do. They use basic compartment designs that are easy to understand. By following some visual and written instructions, you can learn to open different types of battery doors.
Being able to replace batteries yourself saves money compared to throwing the entire light away. It also helps reduce unnecessary waste from things no longer being reusable.
Understanding the Battery Compartment in LED Lights
LED light battery compartments come in different styles. Some have small sliding doors that move left or right to open. Others use twist off covers that unscrew clockwise or counter-clockwise. A few snap open with plastic tabs that flex outward. Most contain 1-4 slot areas to hold AA or AAA batteries firmly in place.
The slots will be visible and are marked positive or negative on one side. Look closely inside the compartment too to spot very slight ridges or indents that match the battery shape. Understanding how to access the compartment and having familiarized yourself with its interior layout will help make changing batteries straightforward.
Locate the Battery Compartment on LED Lights
Look for seams or grooves where a cover may open. Gently run your fingers around the light’s edges to feel any indentations. The battery area will be obvious to see or touch once found. The first step is locating where the batteries are housed within the LED light.
Standard Battery Compartments
Many LED lights have a removable casing or end cap that provides access to the battery compartment.
Examine the Body and End Caps
Carefully examine the entire body of the light, including any end caps, looking for seams, slides, locks, or removable parts. The battery compartment is often concealed behind one of these removable pieces.
Check for Markings
Some lights will have markings, symbols, or text indicating how to open the battery compartment. Common symbols include a battery icon with an arrow or lines to show sliding/unlocking.
Non-Standard Battery Compartments on LED Lights
Not all lights have obvious battery access doors. Some utilize more discreet openings and locking methods.
Examine Under Switches or Buttons
If the light has any switches, power buttons, mode selectors etc, examine if the compartment can be accessed by unscrewing or sliding these parts.
Check Inside Charging Ports
For rechargeable lights, check if the battery is accessed through the charging port or a removable charging cover/foot.
Materials Needed to Access the Battery Compartment on LED Lights
Having the right tools on hand will make safely opening the battery compartment easier.
Soft, Non-marring Tools: Use plastic pry tools, wooden toothpicks, wrapped flat head screwdrivers, etc. Avoid metal tools that could scratch or damage the surfaces.
Proper Size Tool: Select a tool that properly fits the type of mechanism used to access the battery – small enough to fit and lever slides or locks open.
Cloth or Gloves: Use a cloth or wear gloves to improved grip and protect surface finishes from fingerprints.
Carefully Unlatch and Open Compartment on LED Lights

Once you’ve located the likely access point and prepared appropriate tools, proceed with carefully releasing the latch mechanism.
Slide-Lock Battery Covers
Many lights use a slide lock to secure battery covers.
Locate Locking Slide: Closely inspect edges and seams to find a button or slider that moves along a track or channel.
Release In Locked Direction: Slowly slide the lock button/lever along its path in the direction it moves when locking. Apply gentle leverage perpendicular to the slide path only if needed.
Lift Off Cover: With the lock released, gently lift the removable battery cover portion of the light away from the body at a 90 degree angle. Avoid twisting or bending, which could break locking tabs.
Replace In Reverse Order: To close, replace the cover straight down into the opening and push the slide lock button/lever back to locked position.
Threaded Battery Caps
Some LED lights use a threaded cap that screws into the body to provide battery access.
Locate and Fit Screw Tool: Inspect the light for a removable part with either straight or cross-shaped slot. Fit a screwdriver or coin into the slot, ensuring it is the proper size and shape.
Turn Counterclockwise to Open: Place cloth or glove over the cover for grip. Slowly turn screwdriver/coin counterclockwise while holding the light body firmly. Unscrew the cover completely before attempting to remove.
Lift Cover Straight Out: Once unscrewed, gently lift the cover away from light at a 90 degree angle, taking care not to bend or apply excess lateral force.
Replace in Reverse Order: To close, lower cover straight down and gently turn clockwise until tight. Do not over tighten.
Safely Extract and Install Batteries on LED Lights
With the battery compartment successfully opened, you now need to properly remove and replace the batteries themselves.
Extracting Batteries on LED Lights
Opening the enclosed battery space risks disconnecting important contacts. Carefully remove batteries one at a time while maintaining compartment integrity.
Identify Battery Order and Orientation: Note each battery’s position, orientation, and any polarity markings before disturbing them. Improper battery installation can prevent function or damage the light.
Use Non-conductive Tools: Use plastic tweezers or a wooden toothpick to gently slide batteries outward from the contacts, avoiding metallic tools that could short circuit contacts.
Maintain Contact Spacing: As each battery is removed, carefully support any spring contacts to avoid excess movement that could misalign their spacing.
Replacing Batteries on LED Lights
Inserting fresh batteries requires properly positioning each in the precise order while maintaining contact alignment.
Observe Recorded Order and Orientation: Consult your notes on the original install orientation and order. Match polarity markings between battery and compartment.
Support Contacts When Inserting: Gently slide each battery into place using an insulated tool, while cautiously holding any spring contacts steady with a wooden toothpick.
Check Operation After Replacement: Once all batteries are securely reinstalled in the proper orientation, replace compartment cover and check that power turns on as expected before regular use.
Precautions During Open Battery Compartment on Led Lights
While accessing the batteries in LED lights is straightforward with the right approach, special care should be taken to avoid damage. Follow these precautions whenever you open your light’s battery compartment.
Use Care When Prying
Take extra caution when needing to pry open battery covers that use latching mechanisms. Over-straining locks through aggressive prying can crack the plastic housing. Slowly increase pry tool leverage until the latch releases.
Avoid Twisting Motion
Pulling or twisting on partially unlatched battery covers risks breaking off retaining tabs and cracking joints. Lift covers evenly straight outward without torque once unlatched.
Protect Against Short Circuits
Brief contact between loose battery and exposed contacts can permanently disable lights or start fires. Use insulated tools when removing batteries and prevent contact with any metal surfaces.
Maintain Proper Gasket Seating
If cover has a rubber seal gasket, visually verify it remains fully seated in its channel when replacing cover to maintain water resistance.
Confirm Cover Lock Engagement
Slide battery covers may not fully return to a latched position after replacing. Gently press on edges of cover while toggling lock mechanism to hear/feel positive catch engagement.
Prevent Loose Battery Fit
If batteries fit loosely when re-inserting, use non-conductive spacer materials (paper, plastic) to take up excess space rather than doubling up batteries.
Inspect Polarity Alignment Before Power On
Improperly aligned battery polarity can instantly damage light circuits. Double check using visual indicators that each battery is positioned correctly before powering on light after battery replacement.
By taking care when opening the battery compartments of LED lights, as well as properly reassembling them after replacing batteries, you can avoid many failures arising from damage. Ensure covers seal appropriately and batteries align to specified polarity orientations, and your lights will provide years of optimal performance.
Maximizing LED Lights’ Battery Life: Tips and Tricks
- Use high quality alkaline or lithium batteries for longer lifespan
- Check that batteries are inserted in the proper orientation marked inside
- Remove batteries if storing lights for extended periods to avoid leaks
- Dimmer settings will conserve more battery power than maximum brightness
- Motions sensors help since lights only turn on when needed
- Consider a rechargeable battery pack instead of disposables for eco-friendliness
- LED lights consume less power than incandescent so batteries last longer naturally
- Don’t leave lights on for long hours continuously if not required
- Replace batteries as a set instead of one at a time for even drainage
- Stored batteries should be kept in a cool, dry place away from extreme temperatures
Do LED Light Remotes Come With Batteries?
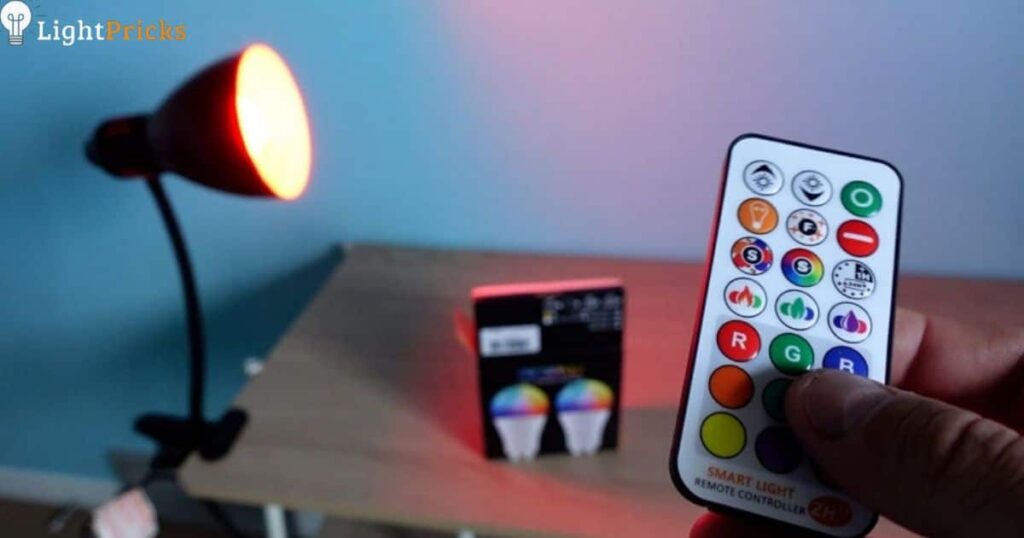
Many LED light fixtures include handy remote controls that provide convenient access to functions like on/off, dimming, and color temperature adjustments. But do these remotes come ready to use out of the box or will you need to supply batteries yourself?
Batteries Often Not Included
In most cases, batteries for LED light remote controls are not included from the manufacturer. Remotes may arrive with no batteries pre-installed. There are a few reasons batteries tend to be excluded.
Prevents Premature Battery Drain
Since LED lights may sit on shelves or in warehouses for extended periods before purchase, keeping batteries out of remotes prevents the controls from being accidentally activated and draining the batteries prematurely.
Reduces Costs
Providing disposable batteries with each control introduces additional expense for manufacturers. Not including batteries helps reduce overall product costs.
Encourages Rechargeable Use
Some eco-conscious makers exclude disposables to nudge consumers toward purchasing reusable rechargeable batteries instead. This supports sustainability initiatives.
When Batteries Are Included
While less common, some LED fixtures do ship with functional remote control batteries in certain situations.
Built-In Remotes
Integrated base station lights with touchscreen remotes sometimes include pre-installed rechargeable batteries kept charged by the fixture’s internal power source.
High-End Products
Expensive, premium light makers looking to maximize convenience and reputation for quality will occasionally provide new name-brand disposable remote batteries upon initial purchase.
Refurbished Items
Reconditioned open-box sales may contain batteries if previously opened units were returned after customer use. But battery life may be limited in these cases.
LED Light Strip Remote Battery Type
LED light strip remotes require batteries to function. The most common type used is CR2032. This is a small, flat, circular coin cell battery. To access it, locate a small slot orindentation on the rear or sides of the remote.
Gently insert a coin or fingernail and pry open the waterproof cover. It may pop off or need to be slid out. Inside will be brackets or clips holding the cr2032 battery in place. Use your fingernail to lever it out. Be careful not to bend any of the delicate contacts.
When installing a new cr2032, position it correctly with the positive side facing up as indicated by a + symbol inside. Replace the cover by snapping it firmly back into the locked position. Test that the remote now turns on the lights.
LED Light Remote Battery CR2025
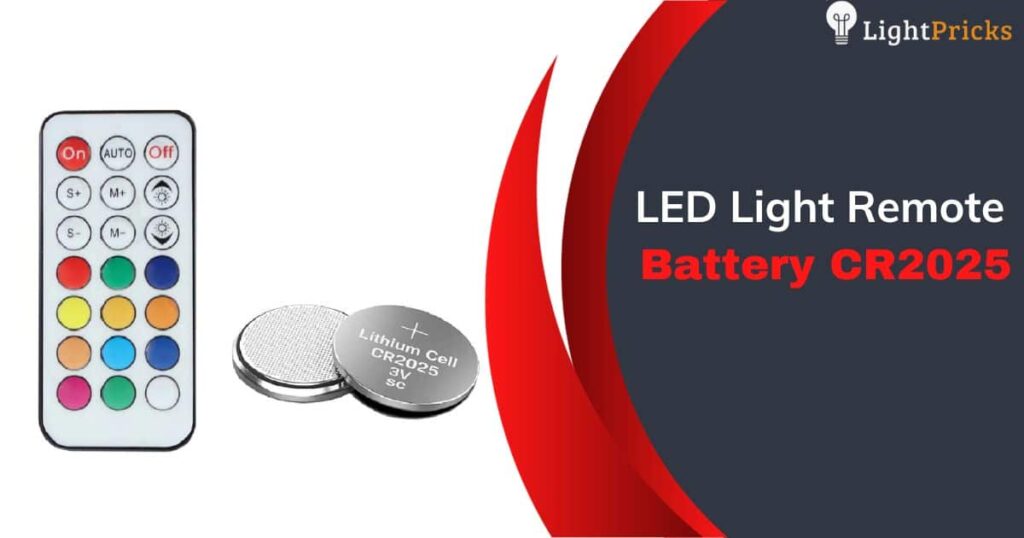
Some LED light remotes use a CR2025 battery instead of CR2032. The process for accessing and replacing it is very similar. Locate the cover slot and pry it open gently. Inside will be the small round CR2025 stored between metal contacts. Its positive side will also be marked with a + symbol.
When troubleshooting LED light remote not working issues, carefully replace the old battery with a new CR2025. Ensure proper polarity alignment, securely click the cover into position, and test buttons to activate the LED light functions with the newly installed battery.
Frequently Asked Questions
How do you open the battery compartment on an LED remote?
Look for a small slot on the remote and use a coin or fingernail to pry open the cover.
How do you open a battery box?
Locate the latch, twist lock or tabs on the box. Gently apply pressure to pop open the cover.
How do you add a battery to LED strip lights?
Find the power source module and open its battery compartment. Insert new batteries in the correct orientation marked inside.
How do you make LED lights run on a battery?
Attach a battery pack to the power input wires of the LED lights. The pack should match or exceed the voltage requirements of the lights.
Conclusion
Accessing batteries on modern LED lights doesn’t need to be a struggle. By methodically examining the exterior for likely access points, utilizing proper non-marring tools, carefully releasing locking mechanisms, and replacing batteries in the correct order, you can safely open and maintain your light’s battery compartment. Paying attention to small installation details goes a long way to ensuring you can power up your LED light for years of consistent illumination.