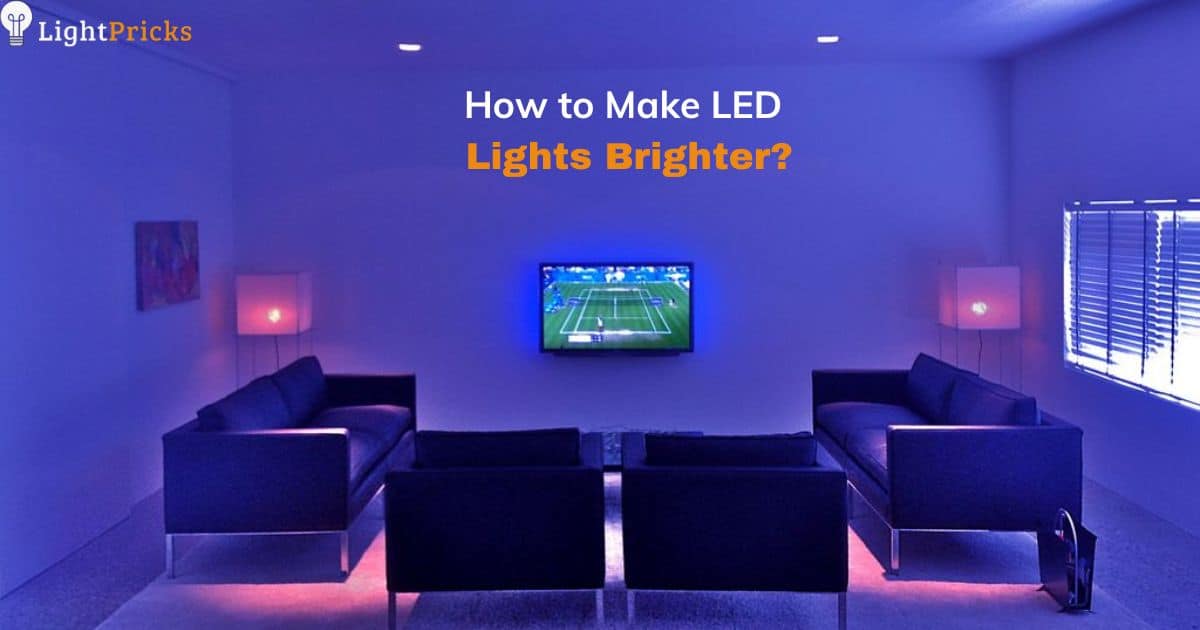
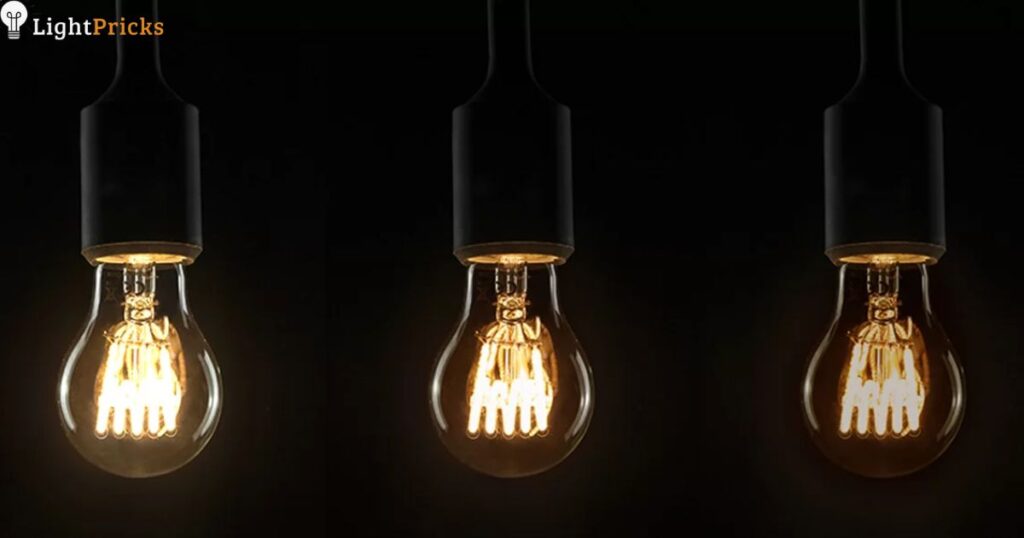
LED lights are growing more popular for being energy efficient, long-lasting, and provide bright illumination. Many homeowners and businesses now use LED lighting. But you may want to make your LED lights shine even more brightly.
Dim LEDs can leave rooms feeling dark or make it hard to focus on detailed tasks. The good news is you can take simple steps to make LED lights emit brighter light. Selecting the right bulbs and adjusting your lighting setup can make a noticeable difference. You may be able to enhance the brightness by 2x or more.
This article will explain easy tips anyone can follow to make their LED light bulbs and fixtures brighter. You’ll learn about comparing LED bulb specifications, directing light strategically, using accessories to maximize brightness, and utilizing dimmer switches and app controls. Follow these LED lighting brightness techniques and you’ll be amazed at the results.
Can LED Lights Be Enhanced for Brightness?
The short answer is – yes. There are many techniques that can make your LED bulbs and fixtures shine more brightly. LEDs already offer high light output due to advances in the diodes and circuitry that power them. But you can make them emit even brighter light with the right adjustments.
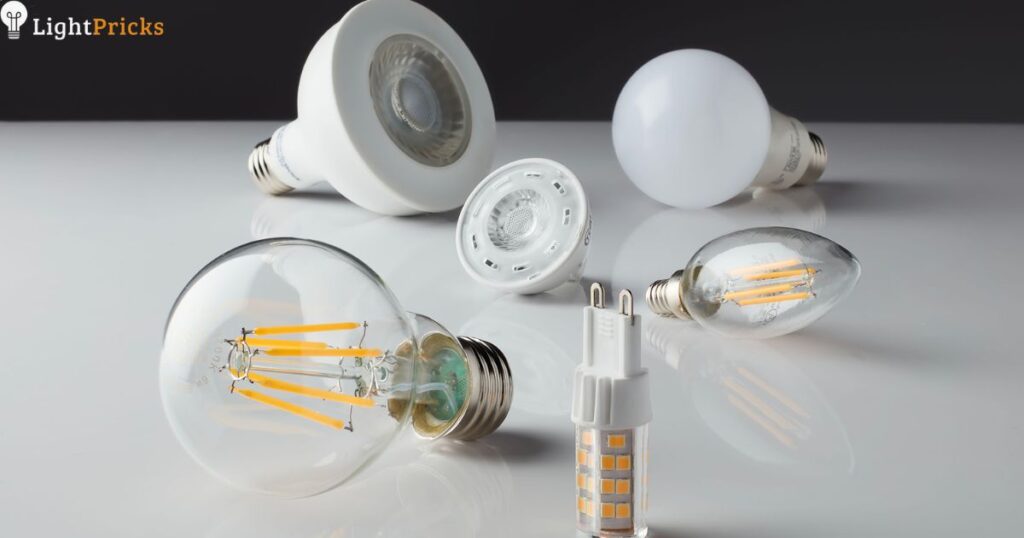
When determining if your LEDs can be made brighter, you first need to understand the characteristics of the products. You’ll want to examine the lumens rating, which measures total light output.
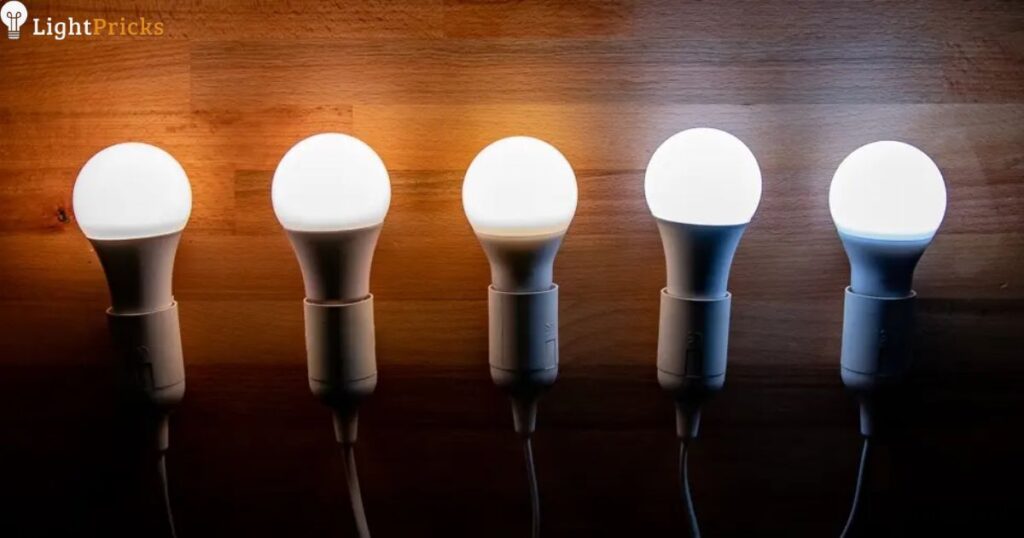
Lumen ratings for common household LED bulbs range from 400 to over 2,000 lumens. The higher the lumens rating, the brighter the bulb. So one way to enhance LED brightness is to simply switch to higher lumen rated replacement bulbs. Doing this can double or even triple the light output.
In addition to lumens, there are other factors that impact brightness with LED lighting. Some fixtures are dimmable – allowing you to turn up the light output. Positioning and aiming of the bulbs or fixtures makes a difference.
Accessories like reflectors and diffusers modify the light to concentrate or distribute it. Even the color temperature and CRI rating affect the perception of LED light brightness. Luckly, all these aspects of your LED lighting setup can usually be adjusted, giving you many ways to make the lights appear brighter.
Increasing LED Light Brightness: Verified Techniques
Shop for Brightness Specifications
When looking for brighter LED bulbs, pay attention to the advertised lumens rather than simply the wattage. Lumens measure the total light output. Most standard household LEDs emit 450 to 900 lumens. But specialized high output, high lumen models can reach 1,500 up to 2,400+ lumens.
Compare Models to Pick Brightest Options
If replacing existing bulbs, check the lumen rating on the bulb itself or packaging and purchase replacements with at least 25-50% greater lumens for noticeably brighter performance. This easy swap is the simplest way to amplify LED brightness.
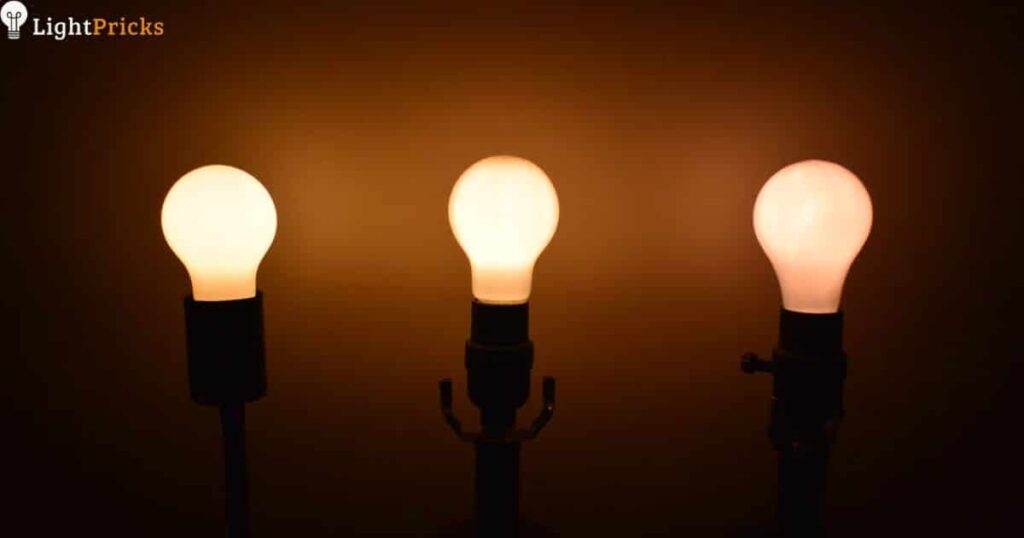
Understand Color Temperature Scale
The kelvin color temperature scale measures light appearance from warm to cool. Lower 2700K-3000K temperatures emit a soft white whereas 5000K-6500K is a bright, energizing daylight color. Light seems brighter and sharper at higher kelvin temperatures.
Pick 5000K or Above for Maximized Brightness
When faced with multiple LED color temperature options, choose 5000K or higher for lighting you want to appear vividly brightened. This relatively simple adjustment makes a big visual impact.
Benefits of Dimmer Controls
Dimmable LED bulbs paired with compatible dimmer switches or Bluetooth/Wi-Fi connected controls allow you to regulate light output from 1 to 100% brightness as needed. This flexibility helps maximize usefulness.
Turn to 100% for Peak Brightness
By setting dimmable LEDs to 100% brightness, you enable the bulb to shine to its full lumen output rating – much brighter than the typical 60% default. Dims down flawlessly as well.
How Track Lighting Works
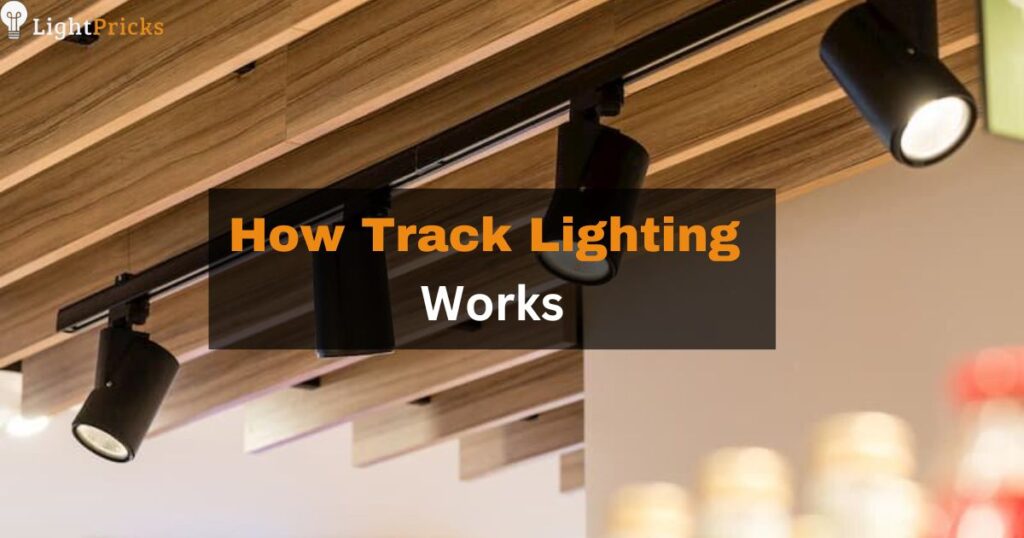
Track heads feature two key adjustments – orientation side to side and beam angle from focused spot to wide flood. This allows directing light precisely where needed most.
Customize Light Concentration
Narrowing beam angle to spotlight artwork or focus over a work area intensifies perceived brightness far beyond general diffuse room lighting. Adjust to make best use of lumens.
Reflector Properties & Functions
Reflectors placed around and behind LED bulbs control light dispersion, measuring and aiming rays for tailored brightening of targeted spaces for task or decorative needs.
Diffuser Properties & Functions
Diffusers soften and scatter light evenly in all directions. This fills a space broadly with ample, uniform ambient brightness, preventing dark corners and gaps.
Highlighting Specific Areas
Focusing LED light directly where needed most – for instance down over kitchen counters or flanking a hallway entrance delivers much brighter perceived illumination exactly where desired.
Position Bulbs Closer to Eliminate Falloff
The closer a light source is to the objects/areas needing to be brightly lit, the higher the intensity – distance causes rapid falloff. Keep LEDs as close as possible.
Manage Windows & Outdoor Light
Fully cover and shade windows to prevent daylight from diminishing the apparent brightness of your interior LED lighting system and limit competing directional glare.
Turn Off Other Indoor Lights
By shutting off auxiliary or secondary lighting fixtures in a space, you consolidate and channel all available room brightness into your main new LED installation for optimal glow.
How Reflective Paint Works
Whites and very pale paint colors reflect and spread incident LED light rather than absorb it, transmitting enhanced usable brightness throughout an interior space in an evenly diffused quality.
Maximum Reflectivity Recommendations
To encourage light bounce and take full advantage of quality, high powered LED fixtures choose flat or eggshell whites like Swiss Coffee or Oxford White for your walls and ceilings.
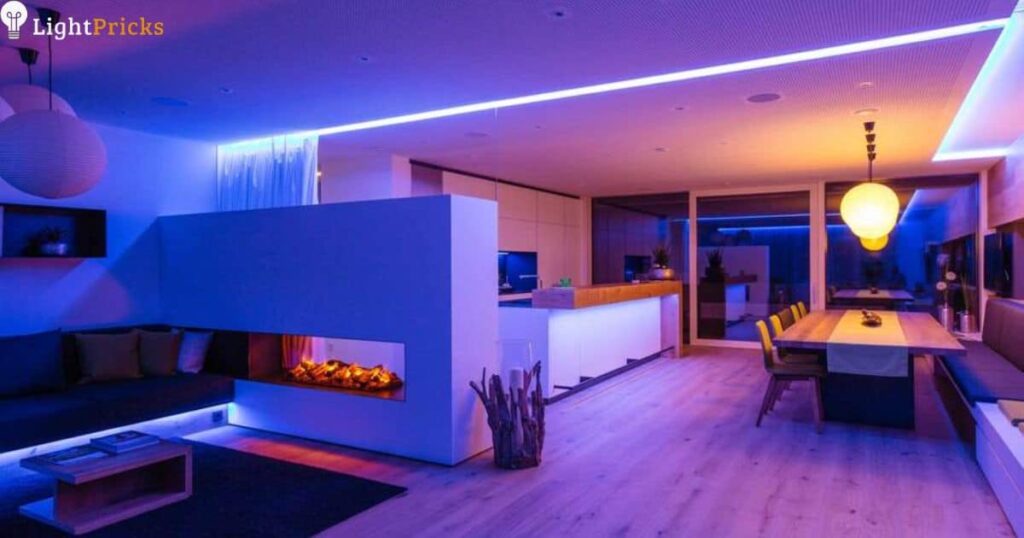
Combining Multiple Light Layers
Consider installing LED recessed ceiling cans supplemented with accent lamps, cabinet lighting and portable fixtures. This layers brightness from multiple angles eliminating shadows.
Turn All Lights On Together
By collectively activating all LED lighting installations in a room, you effectively accumulate
brightness, reaching new maximum intensity and coverage for phenomenal illumination quality.
Dust Buildup and Light Blockage
Airborne dust gradually covering bulbs/lenses creates a barrier impeding light transmission, cutting useable brightness significantly over time. Loss can exceed 40% if not addressed.
Responsible Fixture Maintenance
Using microfiber cloths, carefully wipe down LED bulb surfaces and fixture lenses, diffusers, reflectors etc. every few months to maintain peak light output and reliability.
Tips for Maintaining Consistent Brightness in LED Lights
Ambient Room Temperature Guidelines
LED bulb and fixture performance highly depends on ambient room temps. For maximum brightness consistency, maintain surrounding environments between 60-80°F whenever occupied per manufacturer guidance.
Mitigate Heat Exposure
Keep fixtures far from appliances, heater vents or window locations with direct sunlight exposure that push temperatures excessively high, causing early deterioration of illumination.
Air Circulation Critical for LEDs
Clustered fixtures can trap rising heat, accelerating luminosity degradation. Allow at least 3 to 5 inches clearance around housings so convection airflow prevents buildup exacerbating efficiency loss.
Supplemental Spot Cooling
In tighter spaces, small mounted fans directing breezes over LEDs carries away waste heat. This supplemental airflow maintenance dramatically slows decay from thermal duress when needed.
Dim Judiciously
Although dimmable LEDs allow adjustable beam intensity, avoid over-dimming below 20% brightness whenever possible. Excessively low dims hasten long-term efficiency decay.
Make Gradual Adjustments
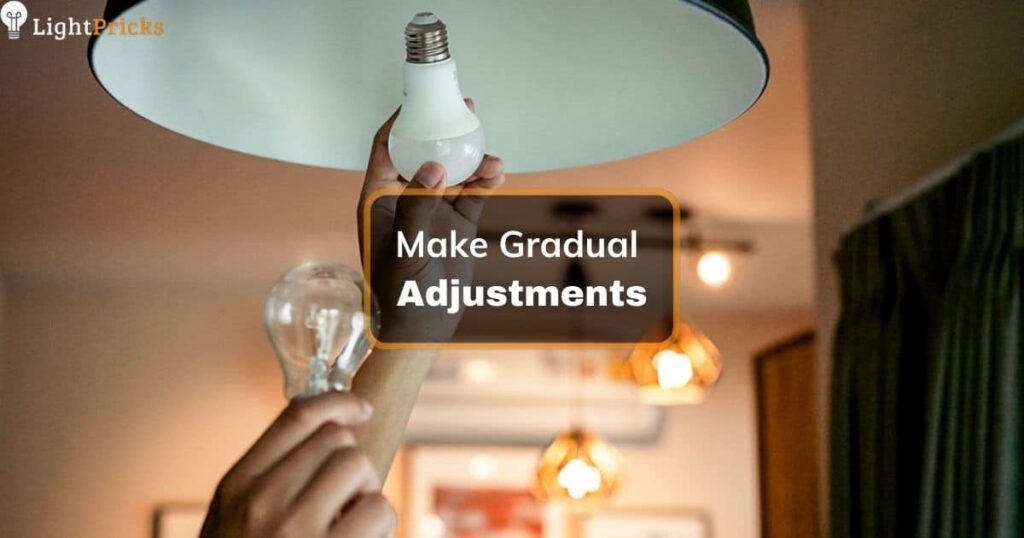
When modulating brightness levels, increment slowly and evenly. Drastic dimming jumps followed by extreme upsizing stresses diode chips, shortening potential lifespan.
Consider Duty Cycles
Follow individual product guidelines on maximum recommended daily burn hours. Constant 24/7 operation accelerates decreasing illumination capacities quicker than 8-12 hour on/off cycling.
Record Hours for Maintenance Checks
Note average daily run times to track accumulated operational hours for properly scheduled inspection and proactive component swaps before abrupt failures.
Use Surge Protectors
Always connect fixtures using protective surge suppressors, avoiding raw connections susceptible to brownouts, overvoltages and lighting strikes damaging delicate electronics.
Monitor Drivers
LED drivers should operate in 60-90°F ambient air to prevent thermal failure and corresponding brightness loss. Check for dust buildup on units hindering heat dissipation.
Phase Out Oldest Bulbs First
Log LED bulb installation dates, allowing you to replace the oldest degraded bulbs first on a schedule – restoring uniform brightness before overall dimming becomes noticeable.
Sequence New Drivers
Phase in driver upgrades over time zone by zone rather than mass replacement for smooth transitions avoiding sudden complete system mismatches in generation performance.
Batch Same Fixture Models
When swapping multiple spent LEDs, replace all bulbs in a given room together using the same rated models for optimal uniformity.
Repeat Group Replacements
As batches age, continue replacing same zone sets together so new vs. originals don’t have brightness variance within a space.
Maximize Light Transmission
Dirt on lenses, diffusers and bulbs obstructs outgoing light. Keep components clean using microfiber cloths bi-monthly so maximum brightness can flow unimpeded.
Adjust for Environment
High traffic or factory areas may require weekly cleaning routines to combat heavy dust accumulation lowering luminosity performance below normal rates.
Self-Cleaning Fixture Benefits
Investing in enclosed LED fittings with integrated wipers, air filters or UV emitters enables reliable automated contamination control for consistent brightness sans manual effort.
Judge Costs vs. Rewards
Although effective, automated cleaning adds upfront expenses. Factor in room usage levels, dirt exposure and quantity before committing to largely maintenance-free operation.
Meter Light Levels
Use handheld meters periodically, quantifying brightness deterioration over time or confirming even distribution. Compare values to initial benchmarks, correcting deviations.
Visually Verify Consistency
Walk spaces after group cleanings or bulb replacements checking for equal coverage, angles or dust issues making sections appear brighter than others. Fix promptly.
Diligently following these LED lighting care tips ensures fixtures retain consistent brightness and distribution for the long haul without expensive mid-life overhauls. Proper maintenance optimizes your lighting.
How to Make LED Brighter with Arduino?
Arduino microcontrollers can be programmed to overdrive LEDs beyond normal rated currents. This energizes the LEDs to emit brighter light by pushing more electricity through them.
Use ohm’s law to calculate the resistor needed for maximum LED brightness without burning them out prematurely. Pick 1-2x the manufacturer current rating for intense light.
The Arduino PWM ports let you modulate LED driving voltages to dynamically adjust brightness levels on the fly. Vary the PWM signal duty cycle from 0-100% to enable LED operation from dim to maximum overloaded brightness.
To prevent damage, monitor LED temperature using sensors connected to Arduino analog ports. If readings exceed design limits, the Arduino can automatically lower PWM cycle accordingly.
With clever programming, Arduinos allow tuning LED drive levels to hover near peak intensity without shortening diode lifespans unnecessarily through over-volting. This hack produces tremendously bright LED illumination from standard low-cost models.
How to Control LED Brightness with a Potentiometer?

Potentiometers make excellent manual controls for adjusting the brightness of an LED. By wiring it into the LED’s voltage path, the potentiometer functions as an adjustable resistor, regulating power flow to brighten and dim the LED.
To connect the circuit, solder the LED’s positive anode wire to one terminal of the potentiometer. Run a wire from the pot’s center wiper pin to the Arduino’s PWM pin providing output signal for LED control. Finally, complete the loop by wiring the LED’s negative cathode to ground back at the Arduino GND pin.
Use a clutch disc rotary potentiometer with an attached control knob for convenient finger adjustment. 10k to 100k ohm potentiometers work best to deliver the full output range for most standard LEDs.
With wiring complete, upload a simple Arduino sketch script incrementing PWM output from 0 to 255 gradually with loop delays. Now rotating the pot knob will smoothly ramp LED brightness up and down to any level desired.
Implementing the variable resistor method allows for precise control of LED luminosity without the need for intricate programming or additional IC components. Potentiometers offer manual brightness adjustment in a compact and cost-effective package, making LED lights move seamlessly.
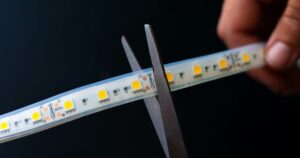
Does a Higher Wattage (More Power) Make LED Strips Brighter?
Yes, higher wattage LED strips and components are capable of emitting brighter light overall. Wattage ratings give the power consumption. More watts generally indicates greater light output.
For LED strips, higher wattage allows including additional LEDs per meter. More LED chips in parallel sums total luminosity for the strip segment, boosting potential brightness.
However component quality matters too. Efficient LEDs utilize wattages more effectively, converting electricity into more usable light rather than excess heat waste.
So compare LED strip watt/meter ratings along with minimum CRI, lumens/meter and other quality metrics. Pick reputable strip brands for best brightness at the target power level needed.
For most applications, strips in the 14-24 watts/meter range with high density LED counts provide ample illumination. Beyond this offers diminishing improvements for much greater electrical load.
Why Are Red LEDs So Dim & How Do I Make Them Brighter?
Red LEDs appear dimmer due to the eye’s reduced sensitivity to long wavelength red light versus other colors. More lumens are needed to appear similarly bright.
To increase red LED brightness, choose models with high lumen ratings – at least 150-200+ lumens for crisp vivid red. Also pick LEDs with high CRI ratings over 80 for improved color accuracy.
Use pulse width modulation (PWM) controls to overdrive red LEDs beyond normal limits safely, pushing more current through for boosted brightness.
Group multiple red LEDs together in clusters on parallel wired circuits. This combines outputs for stronger collective illumination.
Consider supplemental optical lenses and reflectors to focus and direct red LED output for maximum punch where needed most.
Follow these tips and your high precision red LED lighting will transform from dim to impressively bright illumination.
Frequently Asked Questions
How do you increase the intensity of an LED?
Use higher wattage LED bulbs, overdrive LEDs with more current, or add optical lenses to focus light intensity.
Why are my LED lights not as bright?
Age, dust buildup, voltage drop, excessive heat exposure, or inferior LED components can make lights less bright over time.
Can you make LED strip lights brighter?
Yes, choose higher density strips with more LEDs per meter, connect multiple strips in parallel, or overdrive the strips with controllers for brighter output.
Can LED brightness be adjusted?
Yes, dimmers and PWM controllers allow smoothly adjusting LED brightness by modulating the driving voltage or current level as needed.
Conclusion
LED light brightness can be improved in several ways. Use quality high lumen bulbs. Opt for 5000-6500K white light color temperatures. Install dimmable smart bulbs to maximize brightness capacity. Add reflectors and diffusers to direct light. Position bulbs for spotlighting tasks. Eliminate competing light sources. Paint surrounding walls/ceilings white. Combine multiple LED light layers. Overdrive LED voltage/current using controllers. Group bulb replacements for uniform brightness. Clean fixtures routinely. Following these tips produces significantly brighter, more useful LED illumination to any space or application.