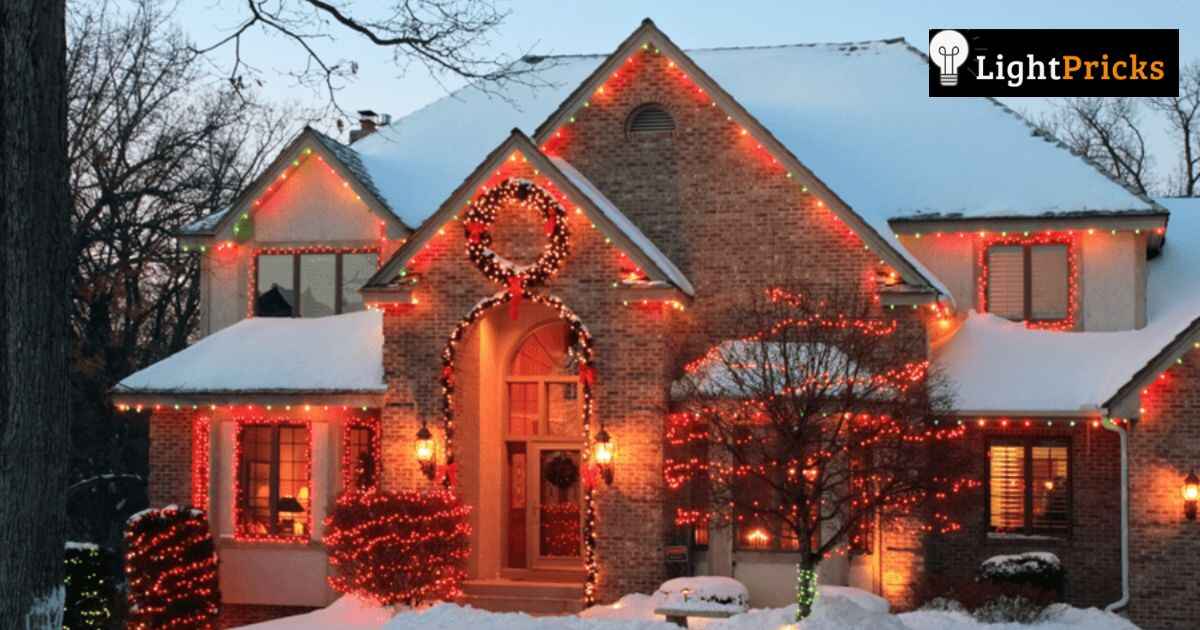
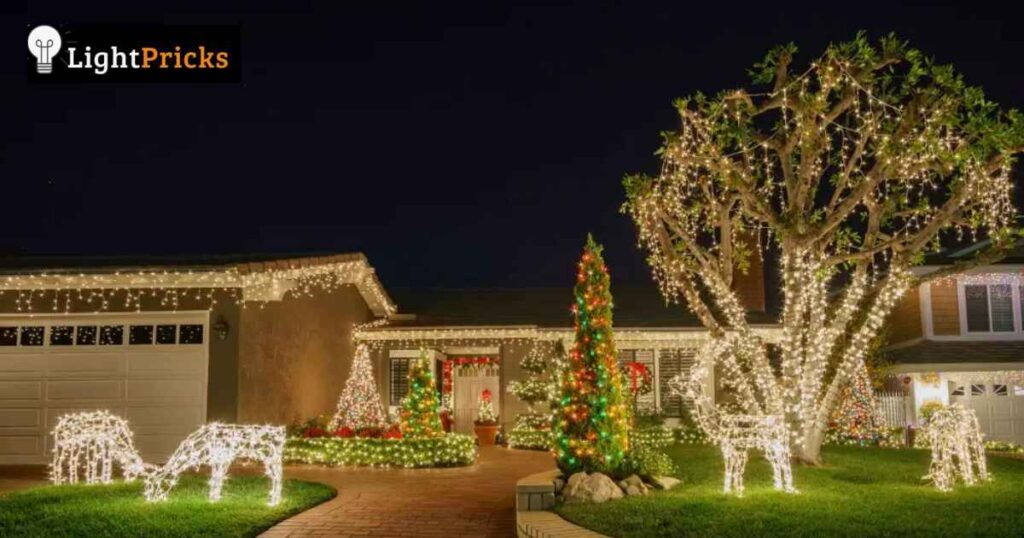
Outdoor Christmas lights are a festive way to decorate homes during the holidays. Properly hanging these lights requires some planning and tools to ensure they are illuminated safely and attractively. This article provides step-by-step guidance on selecting the right lights, assembling needed supplies, and hanging them successfully on houses, trees, fences and other outdoor areas.
As the holiday season approaches, visions of sparkling lights dancing across the night sky arise. But transforming this vision into reality requires care and know-how. Learning how to hang outdoor Christmas lights properly will reward you with a beautifully illuminated home that brings joy to neighbors and passersby during the festive weeks ahead.
Hanging outdoor Christmas lights may seem like a daunting task, but by breaking it down into manageable steps and preparing well, anyone can achieve dazzling displays. This article will guide you through the entire process from start to finish. We’ll look at selecting the right light strands, gathering materials, creating a hanging plan, and safely securing lights where you want them seen. Sticking to the guidelines will result in lights that shine safely year after year.
Safety First To Hang Outdoor Christmas Lights
The number one priority is safety. Inspect strands for damaged or loose wires before use. Worn lights pose a fire risk. Replace damaged strands before starting. only use outdoor extension cords labeled for the purpose. Don’t overload circuits with too many strands connected at once.
Keep lights away from chimneys, roof slopes and other heat sources. Always unplug lights when not in use or before leaving home for extended times. Taking basic safety precautions ensures a merry, accident-free display.
Selecting The Right Lights To Hang At Outdoor Christmas
Choosing lights that suit your spaces comes first. LED mini lights stay cool while using less energy than traditional bulbs. Incandescent varieties cast a warmer glow. Consider single color or multi-color changing/sequencing options. Twinkling or steady lights change the overall effect. Look for commercial-grade strands for house use and clip/stake lights for fences and rooflines. Measure areas to buy the proper amounts.
Gathering Installation Supplies
Aside from lights, some tools make the job much easier. Heavy-duty insulated outdoor hooks, stakes or cups secure strands where tacks fail. Ladders reach high placements, so take safety precautions. Use gloves for protection.
Rope, fishing line or floral wire hides support lines discreetly. Zip ties speed securing lights. Electrical or duct tape attaches connections securely. Scissors cut ties. Outdoor-rated extension cords reach distant outlets safely. Gather all supplies beforehand for smooth work.
Creating An Installation Plan
Plan placements beforehand for organized, even coverage. Draw or visualize where each string or series will hang. Outline main areas like eaves and windows first before filling centers. Temporarily place clipped or stake lights as placement guides.
Group light strands in series of 3 sets maximum or less due to power limitations. Leave access around electrical boxes. Test your plan by laying out cords before installation to check proper lengths. Adjust as needed.
Hanging The Lights
With plan, materials and safety in place, it’s time to illuminate. Start hanging from corners or edges for anchoring placement reference points. Loop strand hooks approximately 5 feet apart around gutters, roof edges or other structures sturdy enough to hold weight. Attach clip or stake lights directly onto vertical surfaces using their own clips or stakes.
Gently wrap strands around trees instead of weighing branches down. Ensure hooks hold firmly but avoid over-tightening to prevent damage. Leave slack between hooks for adjustment as needed. Stop periodically to check even spacing while working up and down the planned areas.
Connecting Strands
Strand connections must be tight yet removable when needed. Connectors are potential short points if loose or exposed to elements, so reinforce with outdoor-rated tape ensuring a waterproof barrier. Take time connecting each string end-to-end or at 3-set series junction points before moving forward.
Once all areas are fully lit, test each set and strand individually by plugging in to ensure all bulbs work properly before completing installation. Address any issues promptly for safe, fully-functional results.
Installing The Finishing Touches
Use staples, small nails or tie wraps as needed to neatly train cord runs and hide wires discreetly along frames or shingle lines when all lights are illuminated properly. Backtrack through fully to double check mountings remaining snug before finishing.
Personalize your display with festive bows, garlands or other natural evergreen trims. With care taken, your completed outdoor lighting will shine bright safely for many seasons to come.
Removal And Storage
Gently unhook or remove any stakes beginning from highest points downward to prevent pulls on lower anchors still attached. Coil cord sections together without tangling or twisting. Bundle and label separate strands or sets inside storage bags or bins for neat identification in future years.
Inspect everything closely before seasonal storage. Fix any issues promptly to retain safe, bright lighting for upcoming Christmas joy. Taking down with care ensures reliable reuse for years ahead.
Final Thoughts
Properly hanging outdoor Christmas lights is a rewarding process that requires thorough planning, careful execution and safety practices. But the dazzling display you create will lift spirits and get everyone in the neighborhood into the holiday spirit.
So take your time, follow the guidelines, and your lights will provide joy not just this season but for many to come. Most importantly, have fun transforming your home into a warm and welcoming winter wonderland for all to enjoy.