Puck lights are versatile lighting fixtures often used to shine focused beams onto display areas or provide accent lighting. Over time though, the compact bulbs housed in puck lights will burn out and require replacing to restore the directed light. Changing a puck light bulb is usually simple if you follow some basic safety guidelines.
This article walks through the complete process for properly changing out an expired puck light bulb in detail. Key steps covered include: powering off the light circuit, removing old bulb and debris buildup, understanding puck light bulb types and bases to obtain the right replacement, installing the new bulb securely, restoring electrical power, and replacing any external housing.
With a bit of care and by adhering to the step-by-step puck light bulb replacement guidance here, restoring brightness to burnt-out accent lighting can be straightforward even for novices.
Understanding Puck Light Bulbs and Their Mechanism
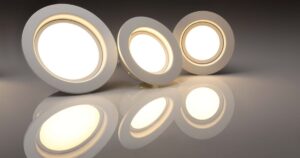
Puck lights get their name from their hockey puck-like round shape. They are compact, low-profile lights designed to provide focused beams ideal for accent lighting applications. Here are some key things to understand about puck light bulbs and how they work:
Standard Base Types
Most puck light bulbs have a GU10 base. GU10 refers to the pins and fittings that allow the bulb to make secure electrical contact. Less common bases for puck lights include GU5.3 and G4. always replace bulbs with the same base type.
Beam Spread
Puck lights radiate light in a narrow directed beam spread best for spotlighting areas like cabinets, displays, or architectural details. The compact lens over the bulb help intensify and focus the light.
Compatible Dimmer Switches
Puck lights work well with supported dimmer switches, allowing light output to be adjusted from fully bright down to lower ambient levels. LED puck lights specifically often require dimmers designed for LED compatibility.
Built-In Transformer
Many 12V puck lights run on lower-voltage power and have a small transformer built into the outer housing. This allows them to integrate with standard 120V electrical systems. The transformer converts the incoming higher voltage down to 12V.
Enhance your knowledge of standard base types, beam spread, dimmer compatibility, and onboard transformers in puck lights for seamless replacement of burnt-out bulbs. Refer to packaging or manufacturer guidelines for Cover Led Lights and additional specifications.
Required Materials to Change a Puck Light Bulb
Before changing the bulb, make sure you have all the necessary materials:
New Bulb
Check the base type and wattage printed on your existing puck light to find a suitable replacement bulb. Most puck lights use a GU10 halogen bulb. LED bulbs will last longer.
Bulb Puller (Optional)
A bulb puller makes removing the old bulb easier and prevents damage, but you can also use gloved fingers.
Replacement Bezel (Optional)
If the plastic covering (bezel) over your puck light is cracked, purchase a replacement so the light will sit securely back in place after changing the bulb.
Remove Old Bulb
First, turn off power to the puck light at the circuit breaker to avoid getting shocked. Use a bulb puller or gently grasp the bulb with gloved fingers and pull straight out to remove it.
Inspect and Clean Electrical Contacts
Check the puck light’s empty electrical socket and contacts for any dirt or corrosion. Clean if needed so the flow of electrical current is not disrupted.
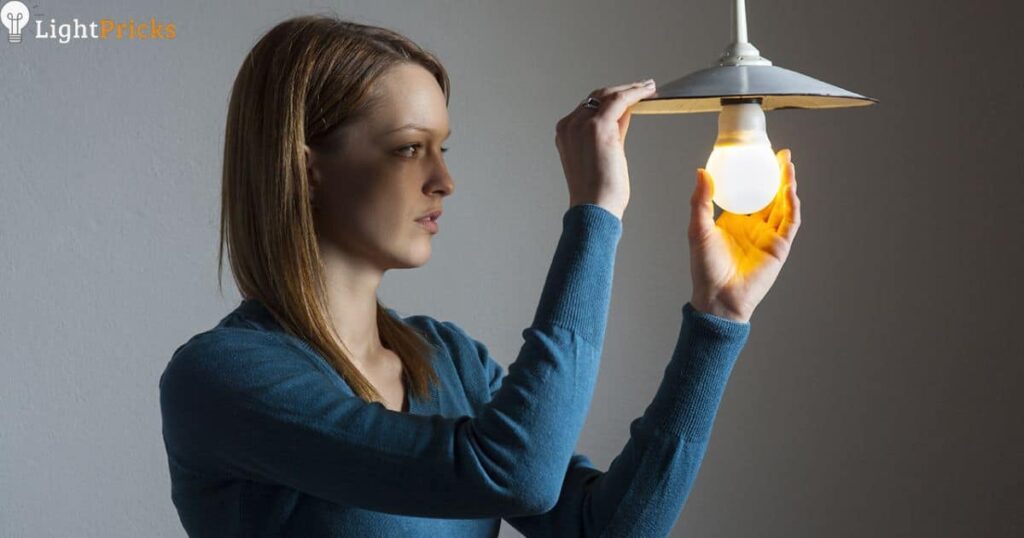
Insert New Bulb
Line up the contacts on your new bulb with the electrical contacts inside the socket. Applying gentle inward pressure, push the bulb straight into the socket until it clicks securely in place.
Return Power and Test
Turn the power back on at the circuit breaker. Make sure your newly changed puck light turns on and is working correctly. If not, check that the bulb is inserted properly.
Replace Bezel if Needed
For puck lights with a protective plastic covering, insert the bezel back over the light by gently bending the flexible sides to fit back around the rim of the fixture.
Changing a burnt-out puck light bulb is usually a fast, straightforward DIY project. Just make sure power is switched off, remove the old bulb, clean the socket, insert and secure the new bulb, restore electricity, and replace any protective housing. Take proper safety precautions and your puck light will soon be shining bright once more.
Guide to Changing a Puck Light Bulb in 10 Steps
Follow these 10 key steps when it’s time to replace an expired puck light bulb:
Step 1: Turn Off Power
Locate the circuit breaker powering the puck light and switch it to the OFF position. Verify power is cut by attempting to turn on the light.
Step 2: Remove Bezel
Carefully pry away any outer plastic bezel or cover protecting the puck light bulb and set it aside undamaged for later reinstallation.
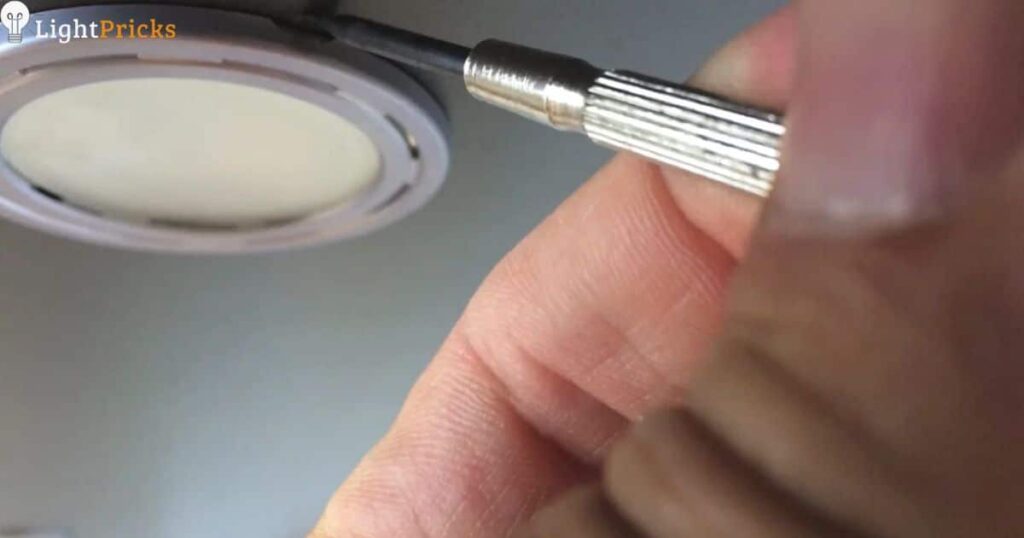
Step 3: Extract Old Bulb
Wearing gloves, use a bulb puller tool or gloved fingers to gently pull the expired bulb straight outward from the socket to remove it.
Step 4: Inspect Socket
Examining the now-exposed socket, check for any signs of damage, wear, corrosion, or debris. Clean if necessary.
Step 5: Check Replacement Bulb
Verify the new replacement bulb is compatible by comparing bases and shapes. Match the wattage listed on the existing puck fixture.
Step 6: Connect New Bulb
Line up the base pins on the replacement puck light bulb with the socket holes and gently push straight in until snugly seated. Do not twist.
Step 7: Replace Bezel
If present, realign any protective plastic bezel back over the base of the puck light, bending its flexible sides to fit.
Step 8: Restore Power
Return to the circuit breaker and switch power back on for the puck light’s circuit.
Step 9: Confirm Operation
Ensure the newly changed puck light powers on and emits light as expected without issues.
Step 10: Tidy Up
Give any newly aligned bezels or covers a gentle final push to make sure they are properly seated around the puck perimeter.
Following these steps carefully whenever a puck light burns out guarantees you can restore these useful lights back to full operation.
How to Replace Ceiling Puck Lights
Over time, the entire ceiling puck light fixture may require replacing, beyond just the bulb. Here is how to remove and replace old ceiling puck lights:
Turn Off Breaker: As always when working with household lighting, disable the power at the breaker before starting any ceiling work.
Remove Cover Plate: Use a small flathead screwdriver to gently pry away the decorative cover plate surrounding the flush mounted ceiling puck to access the screws or clips holding it in place.
Unscrew Fixture: Use a Phillips screwdriver to unscrew any retention screws now visible. Carefully remove the released fixture housing from the ceiling.
Disconnect Wires: Locate the connecting wires powering the unit and detach them from the installed wires in the ceiling junction box. You may need wire nuts or crimpers.
Install New Housing: Reverse the steps by securing the replacement puck light’s affixing screws into the ceiling junction box anchor holes and reconnecting all wires correctly. Consult any wiring diagrams that came with the new fixture.
Confirm Function: With wires reattached securely, restore power and test out the control switch. The new fixture should power on and off smoothly.
While a bit more involved than only swapping a bulb, the fundamentals of turning off power, methodically detaching all light hardware, replacing defective parts, restoring connections, and verifying operation remains essentially the same when upgrading entire ceiling puck lights.
Ceiling LED Puck Light Removal
If replacing an aging ceiling LED puck light fixture, follow these key steps when detaching the non-functional light:
Switch Off Electrical Breaker: As always, cut power at the breaker panel before any light removal to avoid dangerous shocks.
Remove Outer Globe/Lens: Gently pry or unthread any outer decorative lens, shade, or globe covering the ceiling puck assembly.
Locate Mounting Screws: Check around the outer rim of the fixture for small flush mounting screws inserted into the ceiling junction box.
Unscrew Mounting Bracket: Use a Phillips-head screwdriver to back out the mounting screws. This releases the LED puck light from the electrical box.
Detach Connector Wires: With the fixture freed from the ceiling, locate any connector wires powering the light and disconnect them.
Lift Entire Unit Out: With all wires and screws detached, gently maneuver and lift the old LED puck light unit out from the ceiling electrical box opening.
As always when handling electrical fixtures, exercise due caution when removing old ceiling-mounted LED puck lights. Slowly work in reverse installation order and restore any opened wiring connections properly.
Tips to Change a Puck Light Bulb
Utilize these handy tips when servicing burnt-out puck lights to make the process faster and smoother:
Group Bulb Changes: If you have multiple puck lights on the same circuit to update, change them all in one session once power is confirmed off at the breaker.
Note Hours in Use: Make note if the expired bulb saw heavy use or irregular issues towards end-of-life. This can indicate wiring issues to electrical load problems.
Buy Multi-Pack Replacements: For homes with lots of puck lighting, purchase affordable multi-packs of new compatible LED or halogen replacement bulbs even if only one currently needs changing.
Take Pictures Before Disassembly: Smartphones make quick work of capturing close-up images of wiring alignment, bezel placements or screw positions before taking decorative lights fully apart. Consult photos to correctly reconstruct fixtures.
Clean Around Fixture Exterior: While waiting for bulbs and internal housing to cool, wipe down accumulated dust or grime from the visible outer portions of installed puck lights with a dry lint-free cloth.
Advance preparation, having replacement supplies at the ready, fully documenting components before taking apart, and tending to external cleaning while servicing accent puck lights helps the entire replacement process.
Warnings When You Change a Puck Light Bulb
While replacing a puck light bulb is generally straightforward, adhere to these warnings to ensure you change over the bulb safely:
Confirm Power is Off: Neglecting to turn off power via the circuit breaker risks dangerous shocks. Always cut electrical power at the breaker before servicing lights.
Allow Fixture to Cool: If the bulb has been illuminated for a long time prior to needing a change, the puck housing may build up residual heat. Let it cool before handling.
Handle Cracked Lenses Properly: If the plastic lens or bezel cover over the puck light is damaged, replace it. Cracked pieces can easily cut hands.
Do Not Touch Bulb Surface: Oils from skin will cause the glass surface of halogen bulbs to rapidly fail once illuminated. Only handle replacement halogen or LED bulbs by their bases.
No Loose Bulb Insertion: The bulb must insert fully and click firmly in place in the socket well or connection issues can occur down the line. Wiggle gently to confirm fit.
Employ Precise Alignments: Puck lights work properly when light beams are precisely targeted. Make sure any external housing or lenses realign back into their designated positions.
Stay alert on electrical safety, handling cracked covers properly, ensuring fault-free physical bulb connections, beam alignments, and the puck light can keep delivering effective illumination.
Frquently Asked Questions
How do you remove a puck light cover?
To remove a puck light cover, gently pry off the round cover from the base using a flathead screwdriver.
Are puck lights removable?
Yes, puck lights have removable covers that can be easily taken off to change the bulb underneath.
How do you change a push in light bulb?
To change a push in light bulb, simply push the bulb up into the socket to release it. The old bulb will pop out so you can insert a new one.
How do you change a bulb in a flush mount ceiling light?
To change a bulb in a flush mount ceiling light, look for a small knob, tab or screw on the outer rim. Turn or pull this to unlock the trim ring and it will lower, exposing the bulb for replacement.
Conclusion
In summary, puck lights are versatile semi-recessed lighting fixtures often installed to highlight display areas or provide accent illumination. Over time though, the integrated bulbs will expire. Replacing burnt-out puck light bulbs is usually fast and simple with some care.
Always start by disabling power at the circuit breaker for safety. Then remove old bulbs by pulling straight outward, inspect and clean sockets, purchase suitable new replacement bulbs, securely insert replacements into sockets ensuring they click and fit snugly, restore electrical power, and finally test lights.
Adhering to product guidelines and the step-by-step instructions covered here allows even novices to efficiently replace expired bulbs in puck accent lights, bringing back focused bright beams to enhance rooms.